Content
-
1 Choosing materials
- 1.1 Finished material
- 2 Installation tools
- 3 Fasteners
- 4 Necessary fittings
-
5 Cabinet installation
- 5.1 Drilling details
- 5.2 Assembling the kitchen cabinet
- 5.3 We hang the closet
- 6 Features of operation
If for some reason you do not have a cupboard in the kitchen, then this situation should be urgently corrected. In this article, we will consider in detail the process of making a furniture cabinet, install it on the wall and select the necessary components.
And let's start just with what material is best to use for the base.

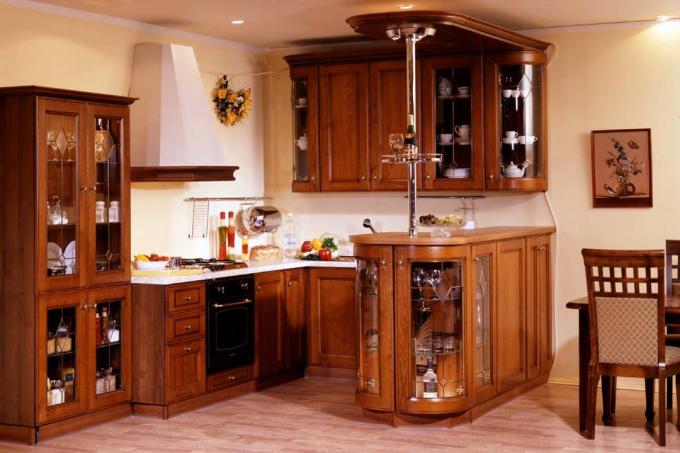
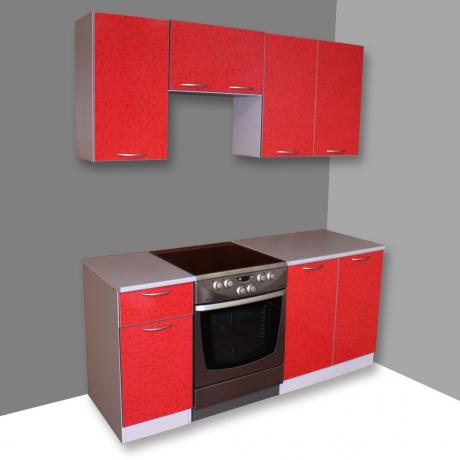
This is what the simplest wall cupboard looks like.
Choosing materials
Kitchen wall cupboards can be made from four different types of materials used for furniture:
- Chipboard - the most common option for the headset base (see. also installation of a kitchen unit). Its advantages: affordable cost, variety of colors and ease of installation. The disadvantages include - low resistance of the material to moisture and the lack of the possibility of restoration.
- MDF - a more expensive type, most often acting as a basis for facades. It has properties similar to chipboard, with the exception of environmental friendliness - it is considered a more favorable material for the house.
- Plywood - acts in rare cases as a basis. This option is more suitable for suburban buildings, where appearance is not the most important aspect that furniture should have.
- Natural wood - a very expensive base option. Best suited as material for kitchen facades.
As you can see, there seems to be a choice, but at the same time, it is not. Almost 90% of buyers choose laminate flooring, its price is at least pleasantly pleasing.
Finished material
Most hardware stores offer to purchase ready-made products: sawn and edged.
If you decide to use this option, then you should buy:
- Side racks - the depth of the kitchen cabinets must be at least 300 mm. The height depends on your desire, the standard size ranges from 600 to 800 mm.
- Bottom and top - the depth is selected similarly to the side walls, and the width should be at least 368 mm. These are the dimensions of the narrowest dish dryer.
- Removable shelves - order if you need them.
- DVPO - back wall.
Note!
Pay attention to the dimensions, all dimensions should take into account the thickness of the chipboard, which is 16 mm for ordinary furniture.
Kitchen cupboards can be without a bottom. This is possible if a dish dryer with a plastic tray is used.
Installation tools
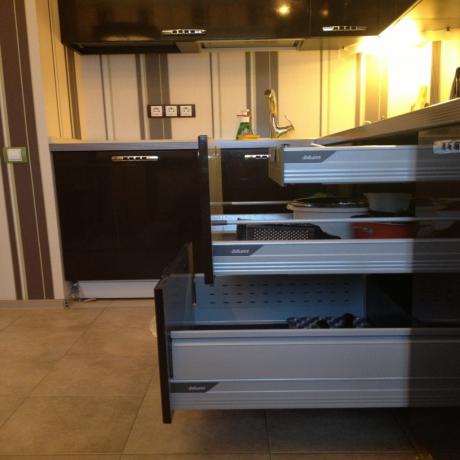
- A drill with a set of drills: 6 or 5.5 mm are used for drilling parts into the end, and 8 mm for drilling parts in the horizontal plane. As shown in the photo.

This is how the details of your future cabinet twisted together look like
- Screwdriver.
- A hammer.
- Roulette.
- Building level.
- Construction square.
- Jigsaw or hacksaw.
Fasteners
- Euro screws.
- Self-tapping screws 4x16 mm and 4x25 mm.
- Dowel-nails.
- Nails.
Necessary fittings
Of the accessories you need the following products:
- Adjustable awnings in the amount of 2 pcs. Although they can be replaced with conventional awnings, which are screwed on from the back.
Such a cupboard for the kitchen will be devoid of adjustment, but it will save on the purchase of accessories.

Adjustable awnings are not only practical but also aesthetic
- Fastening strip. Its length should be equal to the width of the kitchen cabinet.
- Front hinges. 2 pieces are enough for one door.
- Front handle.
- Dish dryer set.
Note!
There are many different models of dish dryers on the market, from pull-out ones with plastic trays to chrome-plated ones with a metal backing.
Cabinet installation
To assemble a cupboard in the kitchen, you need to start with marking and drilling.
Drilling details
- On the side walls, two marks are placed with an indent from the front and back edges of 50 or 70 mm, from the end no more than 8 mm. They are marked on two sides: the bottom and top of the vertical rack.

To avoid large chips when drilling, this process should be carried out on a flat surface.
- In horizontal parts (bottom and top), marks are placed according to the drilled holes in vertical products.
- An additional marking is a dish dryer. How to fix it correctly is described in the instructions attached to the product.
Memo!
If it is not available, you can see on the Internet how such models are installed.
Assembling the kitchen cabinet
- Using euro screws and a screwdriver, we twist all the parts together.
- Makes holes in the rear wall for adjustable awnings. If it's necessary.
- Nails the DVPO to the back of the cabinet.
- We fix the dish dryer.
- We hang the hinges for facade for the kitchen.

The sequence is not important: either the facade with hinges for the cabinet, or the hinges initially on the cabinet wall
Note!
In order for the door to hang on its hinges with a cup, you need to purchase a 35 mm cutter. With its help, two holes are drilled in the facade: an arbitrary height indent, but not more than 120 mm, an indent from the end edge of 21 mm.

The main thing is not to drill through the door
- The last step is to drill the handle in the door.
We hang the closet
This process depends on what kind of fasteners you are using: adjustable awnings allow you to drill the wall with an error of 5-10 mm. And the usual fasteners should be marked strictly along the vertical line: as you drill "evenly", the cabinet will hang "evenly".
Features of operation
Here you have a do-it-yourself kitchen cupboard, which cost you several times cheaper than in a store.
Here are some parting words about operational issues:
- Try to wipe your furniture with a dry towel before placing dishes in the dish drainer. Even small drops on the edge of the parts can cause them to swell soon.
- Purchase fasteners based on the maximum load that will be applied to the cabinet. If possible, fix it to adjacent cabinets with intersection ties.
- It is more convenient to place the dish dryer in this way: a shelf for plates at the bottom, a shelf for cups at the top.
And in conclusion, I would like to say that if you do everything yourself and take a drill in your hands for the first time, then watch the video: kitchen wall cabinet for dishes. There you can visually familiarize yourself with the assembly process of the cabinet.