Content
-
1 How to make a ceramic kitchen apron
- 1.1 Choosing a tile
- 1.2 Preparation for laying ceramic tiles in the kitchen
- 1.3 We put the tiles
- 2 Conclusion
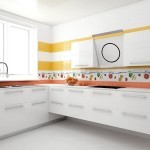
The most comfortable arrangement of your home has long become an integral need for humanity. So, ceramic tiles for a kitchen apron provide not only beauty, but also extremely practical in areas of high humidity.
The choice of tiles is very large and the price for it can differ by orders of magnitude, but even the cheapest of all will serve well for any housewife.

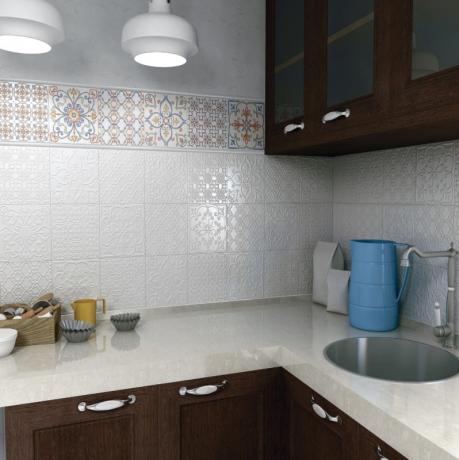
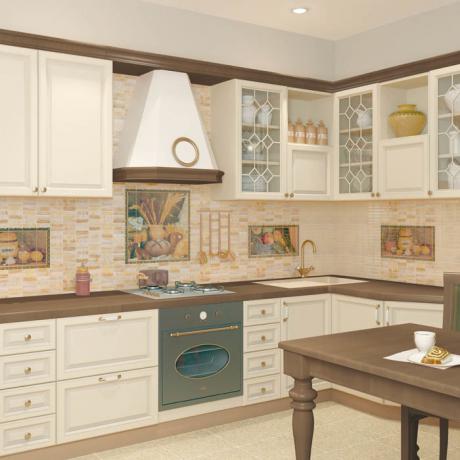
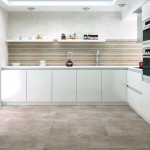
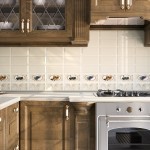
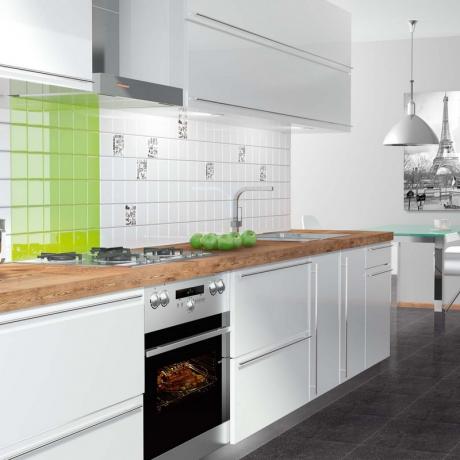
Kitchen apron made of ceramic tiles with decor
How to make a ceramic kitchen apron
Choosing a tile

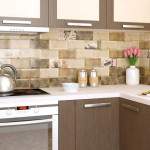
Ceramic tiles from JSC Keramin
-
If we talk about color, any ceramic tile for an apron is suitable for the kitchen, the main thing is that it does not disturb the overall composition of the interior..
The same can be said about dimensions, because they will mainly affect the decoration, and of course, the speed of installation. The most important thing is the geometric parameters of each individual panel!

The geometric parameters of the tiles must exactly match each other
- Now let's learn how to check tile for kitchen in terms of geometric parameters, that is, this is a kind of instruction for determining suitability.
The plane of the tile should not be curved or concave, and for verification it is sufficient to attach two samples to each other with the front or back sides.
If there are no gaps between them, then the tile is of high quality, in any case, a gap of more than 1 mm should not be allowed, otherwise the apron will turn out to be wavy and "teeth" (protruding corners of the tile) may remain. - Also, ceramic tiles for an apron for the kitchen, and any other, must have a clear diagonal, which means that each corner of it must correspond to 90⁰.
You can check this in the following way - apply ceramics with the same sides to each other, and install them with their ends on a flat surface - the same tile. - The height of the corners must exactly match each other, because a difference of at least 0.5 mm along the diagonals will cause a failure at the seam between the tiles. Although kitchen aprons from ceramic tiles, as a rule, are not made more than 3-4 rows (depending on tile sizes) you still have to play with spacer crosses, putting them on the edge, then lying down, then two immediately.
- Another important factor is the integrity of the glazed coating on the edge tiles for the kitchen (On the coated tile itself, everything is usually fine).
If the glaze is damaged, then cleaning the seam with your own hands before grouting, you can violate its integrity, as a chip will occur.
In order to be sure of the quality of the ceramics, you do not need to test every sample - it is enough to check a few pieces from a batch.
Preparation for laying ceramic tiles in the kitchen

The wall must be clean for good adhesion.
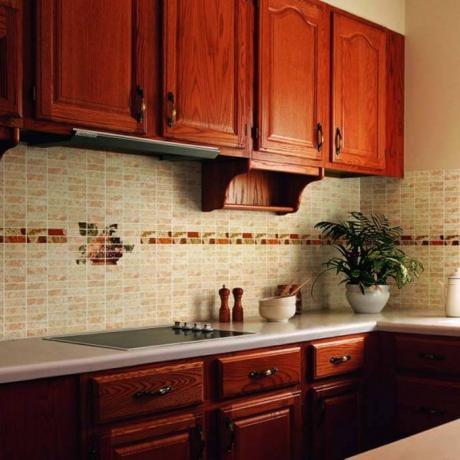
- It is best if the ceramic tiles for the kitchen - for the apron will fit exactly on the wall as above in the photo.
Only the point is not that the wall should be made of bricks, but that it should be clean, that is, it is necessary to remove the old plaster or putty from it. This, of course, can not be done, but many years of repair practice suggests that after a few years, and sometimes even months, the tile begins to lag behind along with the glue solution. - Therefore, before laying the apron (it is also called a kitchen towel), beat off the old plaster from the wall and clean off its remains with a spatula.
For scoring, determine the distance a little more than the future project so that you can plaster the wall well. The standard height of the base cabinets is 80 cm, so the bottom edge of the backsplash can be started at 75 cm so that the countertops rest against the tiles - based on these parameters, start the bead from 65-70 cm.

Wall plaster under the apron
- Of course, it will be better if you plaster the entire wall, but now we are talking about the apron, so we open the chipped place with a primer and let it dry. Then we expose the beacons and again wait until they dry so as not to knock them down when plastering - it is best to leave the beacons until the next day. Then plaster the prepared area and, if necessary, do the wiring for sockets and lighting.
Council. To facilitate the work, the plaster beacons can be placed not on the cement mortar, but on the putty. It's much easier and faster, especially since it doesn't matter indoors.
We put the tiles

Stir the tile adhesive
- First of all, decide what kind of glue you will use - if you consider that the installation takes place indoors, then any brand will do, although the author of this article prefers Ceresit CM-11 (this glue is not only universal, but also sufficient elastic).
If the ceramic tile for the kitchen backsplash is installed by you for the first time, then you better install a flat bar under the bottom, fixing it on the dowels (then you will remove it). Set the plank a few millimeters lower so that you can adjust the height of the tile, as the wood will in any case be uneven for accurate installation of the ceramics. - Stir the glue solution in a rubberized putty bucket - ordinary plastic is broken with a mixer. First, take 1/3 of a bucket of water, and then pour glue into it, gradually stirring until the consistency of mashed potatoes.
Let it stand for 5-10 minutes so that the lumps get wet and beat again - the solution is ready for use.
Council. If you accidentally take a lot of water, and you get a lot of solution, then it will fly out of the bucket around the room when kneading. To avoid this, switch the drill reverse to counterclockwise rotation and the mixture will not scatter.

Glue can be applied to either wall or tiles.
- Ceramic tiles for a kitchen apron are laid on glue, which is applied with a notched trowel either to the wall or to the tile, and sometimes, if the wall is uneven, to both surfaces.
You choose the thickness of the spacer cross yourself, but the most popular is the 3 mm seam. When laying tiles, try not to leave any glue between the tiles - wipe immediately to make grouting easier.

Leave room for the socket
- Most likely, there will be a socket on the apron, so make room for a socket, and the tiles can be cut with a grinder, tile cutter, glass cutter and even ordinary wire cutters.
The next day, remove all spacers, wipe the tiles clean and clean the seams - now you can start grouting. You can also watch the video editing process.
Conclusion
Ceramic tiles are rubbed into the kitchen in any color that fits both the tile itself and the interior of the room (see. tiles in the kitchen: design). But the grout itself, in any case, must be of high quality, so that later it can be easily wiped off from fatty deposits.
Gallery