Content
- 1 Benefits of homemade shelving
-
2 Installation of the structure
- 2.1 What is required for work
- 2.2 Frame construction
- 3 Shelving in the corner
- 4 Purchased shelving
- 5 Conclusion
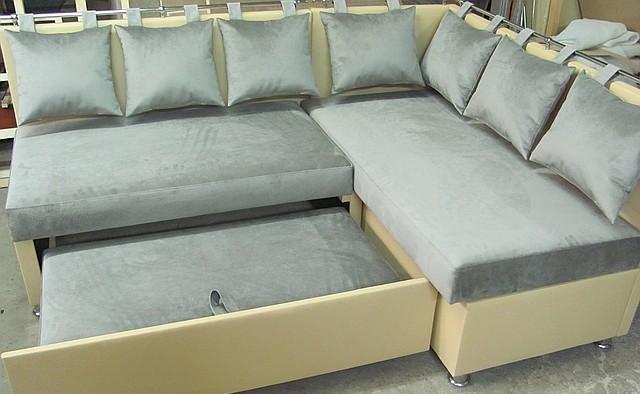
Storing food and other kitchen utensils takes up a lot of space. To solve this issue, many ways have been invented, but the most effective is the installation of a rack in the kitchen. Of course, this decision must be approached responsibly, because the final result depends on the correctness of the work process.

You don't have to follow straight lines - experiment
Benefits of homemade shelving
- A DIY kitchen rack can reflect exactly what you want. You do not need to follow fashion, torment yourself with doubts about the materials, you select all this according to your desires. This also applies to the finishing stages.
- Low cost. This is due to the fact that you can use any kind of building materials: plywood, chipboard, chipboard, and not overpay for brand promotion.
- The ability to build in a rack to fit the dimensions of the room. Purchased products are usually not so varied, of course, they can be placed in the kitchen, but they can be either too small or too large.
- Plus, you can always remodel your kitchen rack if something doesn't suit you.
Below is an instruction in which we describe the step-by-step process of constructing a wooden shelving: from bars and chipboard.
Interesting!
Throughout the article, you will be able to see a number of photos of the original and popular shelving. Perhaps this will lead you to your own ideas.

Small kitchen shelving made of wood and plywood
Installation of the structure
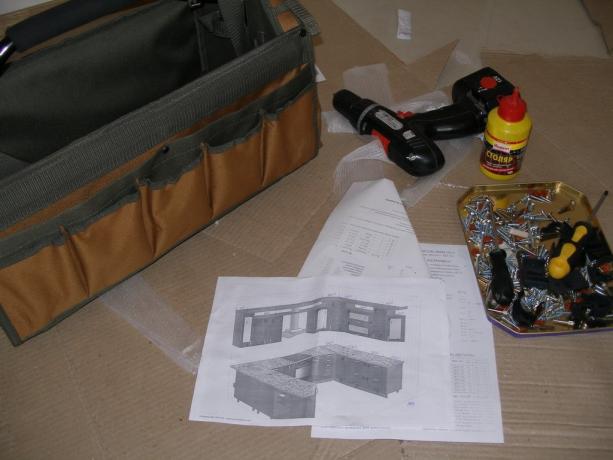
What is required for work
- Drill.
- Hacksaw and jigsaw.
- Screwdriver.
- Roulette.
- A hammer.
- Hardware: nails and screws.
- Wooden bars 50x50 mm.
- Chipboard. You can, of course, use chipboard, but if we are going to paint the entire structure, it makes no sense to overpay for extra finishing.

Some laminated surfaces will need to be painted over in several layers.
- Varnish and paint. You can process it not only with paint, various self-adhesive films are also suitable, you can use decorative wooden products. At worst, it is possible to glue the frame with plastic.
Note!
The amount of materials required should be calculated depending on the size of the structure.
Wooden shelving for the kitchen is usually erected to the ceiling, or aligned with the top level of the wall cabinets.
Frame construction
- Initially, it is necessary to saw off the vertical wooden blocks according to the selected height.

To make the edge even, mark the line with a construction square
- Then horizontal jumpers are cut.
Advice!
Better not to fly more than one and a half meters. Especially if you are building a rack for kitchen appliances, otherwise the shelf will sag, outwardly it will look, to put it mildly, unsuccessful. And the strength of such a structure is low.
- Chipboard sheets are now cut. Here it is necessary to take into account the maximum depth of the shelves.. 500 mm is considered acceptable, deeper shelves (more than 700 mm) should be fastened with additional jumpers (see. also do-it-yourself kitchen shelves).
- When all materials are prepared, it is required to treat the bars with an antiseptic and let them dry. This is necessary to increase the shelf life of the rack.
- We take a hammer and nails in our hands - we fasten vertical bars with horizontal. 2 nails are enough for a 50x50 mm beam, drive 3 into larger beams.
- Now you have two sides of the rack, it remains to pull them together. You can also use trim bars, but in fact, it is enough to pull the shelves with screws to the horizontal bars (see. also wooden shelves for kitchen). Do not feel sorry for self-tapping screws, the tree dries out over time, which weakens the fasteners.
- The final stage is finishing the rack: First apply a coat of primer, wait until it is dry, then paint over. For reliability, it can be varnished, so the color will be much brighter.
If necessary, you can make corner shelves for the kitchen, for this, fasten two standard modules, or make an L-shaped structure.
Shelving in the corner
The stage of construction of the frame is very similar to the one described above, only the horizontal bridges must be used much more.
You should also pay special attention to the outer corner, which can be secured with an additional single vertical bar. Or set some vertical cuts.
Note!
A metal corner will help to facilitate the process of erecting the frame, which reduces the load on the horizontal lintels.
With these components, the corner rack will be more durable and durable.
Purchased shelving
Now let's look at the advantages of a ready-made design that is sold in hardware stores:

Crockery storage rack - unlikely for home use, but popular in the catering industry
- Easy and simple installation, which is carried out with one screwdriver.
- Adjustable Shelves - Uprights have holes to change their height.
- Adjustable legs allow you to level the rack, eliminating the shakiness of the structure.
- Such shelves for the kitchen are made of durable and reliable materials that will serve you for more than one year. They are resistant to high humidity, mechanical damage and other mechanical stress.
Note!
Don't forget that steel construction will cost you much more than any wooden frame.
The price can range from 5 thousand rubles to several tens, depending on the size and the manufacturer.
I would like to recommend you metal shelves for the kitchen SK E, SK 4 4 or SK 5 5, they meet all quality standards. The base is food grade stainless steel, which does not have any harmful effects on food.

Metal rack with adjustable holes for more convenient shelf use
Conclusion
A spacious shelf is necessary for everyone, it allows you to free up space in cabinets, make the space more functional (see. also decorative shelves for kitchen). And access to some products will become easier if they are stored on open shelves.
If you want to visually familiarize yourself with this kind of structures, then be sure to watch the video: kitchen racks for the home, located right there.