Content
-
1 Determine the scope of work
- 1.1 Ceiling first
- 1.2 Wall work
- 1.3 To the floor
- 2 Finally
Any renovation is an event that is both pleasant (but only at the end) and costly, during the entire action. Nothing sucks money out of the family budget like renovation work. Therefore, the home master tries to do the main stages of kitchen repair on his own.
How to repair a kitchen with your own hands - this is what today's instructions are all about.
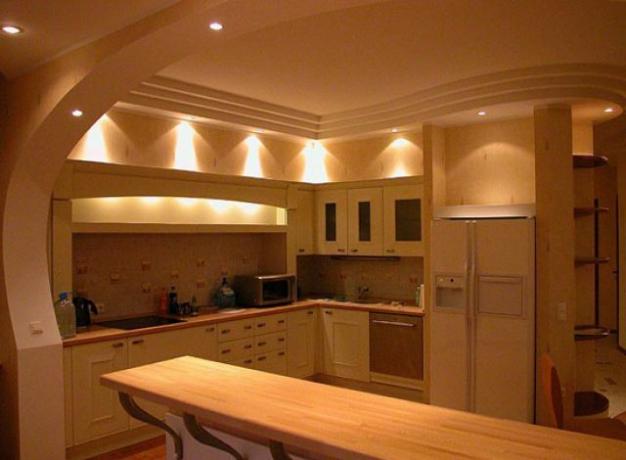
To achieve this result, you have to work.
Determine the scope of work
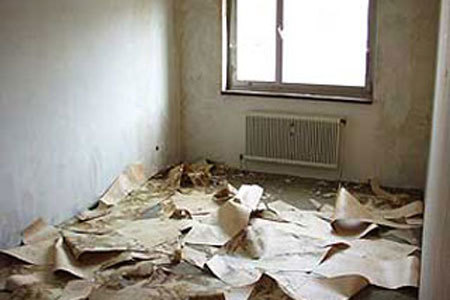
What are we going to do, capital or cosmetics?
In what order to make repairs in the kitchen, from top to bottom, that is, from the ceiling to the floor.
At the initial stage, it is necessary to clarify for yourself the entire volume of work performed, for the reason that repairs can be:
- Capital. In this case, it is necessary to completely remove all old coatings, reach the building base and apply layers of a new coating;
- And cosmetic. It does not require such thoroughness, is less costly and allows replacement, complete or partial, of only the outer coating. This includes updating the color of the ceilings, changing the wallpaper or painting the walls, revising the floors.
All these works require a certain sequence of kitchen renovation:
- Ceiling works, including revision with possible replacement electrical wiring in the kitchen;
- Wall renovation. At this stage, it is also possible to work with the repair or replacement of kitchen frames, doors, wall electric wiring, as well as revision and replacement of the heating battery, checking the ventilation shafts and replacing the exhaust equipment;
- Repair of floors. At this stage, there is an audit of the sewer system, an inspection of the baseboards, as well as work directly with the floor, painting, replacing linoleum, or laying.
Ceiling first
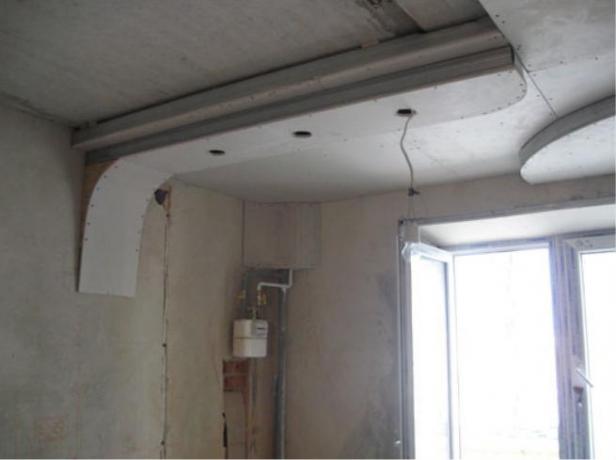
The first chords are overhead.
This is his ceiling share to be the first and open the parade. When performing these works, following our simple guidelines, you will be able to clearly determine how to make repairs in the kitchen on the ceiling.
So, we pay attention to:
-
Condition of ceiling slabs. In old houses, a situation is often observed when one plate is located noticeably lower than the other.
Unfortunately, this visual defect cannot be leveled by any capital grout. In this situation, it is necessary to cover the ceiling tiles with plasterboard. - Condition of plaster. Even on flat ceilings, plaster and whitewash can flake off over time. In this case, it is necessary to revise the entire ceiling.
Advice!
Falling off plaster is visible anyway, but the potentially unstable must be found on your own.
This is done very simply, it is necessary to tap the entire surface of the ceiling with a spatula, where the box sound appears, there is a potentially dangerous zone.
Leaving it and whitening or painting the ceiling, you will get a perfectly falling off layer, which, under the influence of moisture, will surely separate from the general layer and fall under your feet.
-
Ceiling wiring condition. You can leave the ceiling electricity alone if you have not been flooded, the wires do not crumble enough, the zeros do not burn out, and the wiring does not spark.
Otherwise, get ready to replace the wire. Usually, replacement is not difficult. The wire itself is located in special voids, in the stove, and is connected in one of the wall sockets with the general kitchen wiring.
Note!
Replacing the wire is very simple. A new one of the required length is tied to the ends of the old wire. And through the available course, it extends to the exit from the ceiling opening.
When carrying out drywall work, they try to place a new wire on the inner surface of the drywall sheet.
Wall work
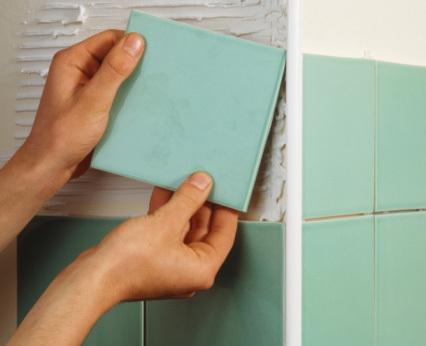
Walls can also be prepared for tiles.
A phased renovation of the kitchen involves a transition from the ceiling to the walls.
At the same time, we pay attention to:
-
Directly walls. If the walls “floated”, waves appeared with deflections forward or backward, then such walls, as well as curved ceilings, require only hiding. And no material can cope with this better than drywall.
In all other cases, the revision of the walls is carried out in the same way as the ceilings - by searching for voids. Then putty and wallpaper or staining or tiles; -
Electricity states. Modern kitchens require the simultaneous inclusion of several electrical appliances, such as a refrigerator, a typewriter, an extractor hood and, for example, an electric kettle. All this creates a fairly large load not only on one outlet, but on the network as a whole.
In this case, it is necessary to provide several outlets, as well as hide them in the wall. In even walls, the wiring is hidden by the method of wall chipping (knocking out special grooves in the walls, for wiring, with their subsequent puttying). In plasterboard walls, this can be omitted;
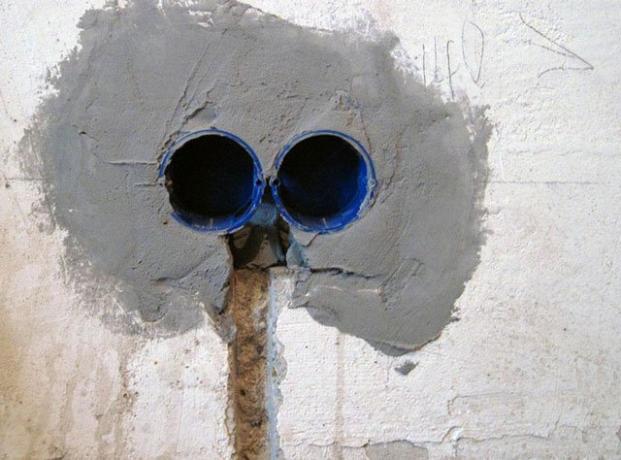
Strobing for wiring and two sockets, a very revealing photo.
- Batteries. If they suit you well, you can leave them alone. Cast iron ones are usually painted, but modern bimetallic and panel ones do not need this.
- Windows and doors. Usually they do not bother with them and put either double-glazed windows + wood, or double-glazed windows + plastic. Doors, of course, are preferably MDF + glass. But if you are quite satisfied with the old frames and doors, then it will be enough just to paint them;
- condition ventilation in the kitchen. The check is simple: a lighted candle is brought to the mine. If everything is normal, the combustion intensifies. Otherwise, it is necessary to clean the ventilation shaft, and call the appropriate services in multi-storey buildings.
To the floor
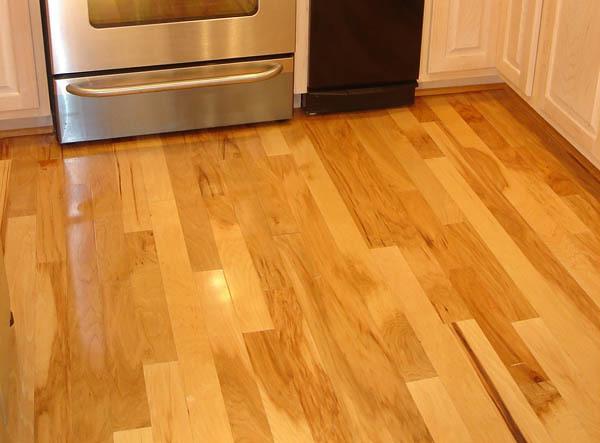
Linoleum can be both laminate and parquet.
The renovation sequence in the kitchen leaves the floors for a snack.
Everything is very simple here, we look at:
- Skirting boards. It is advisable to immediately make them removable and fasten with self-tapping screws. This simple technique will greatly facilitate life when replacing, for example, a telephone cable, and the skirting boards themselves sometimes require replacement;
- Sewerage systems. The question of how to make repairs in the kitchen can be considered rhetorical until you secure the creation of your hands. Agree, if, due to the clogged sewer, the wallpaper of the adjacent corner begins to peel off, or the corner blooms from the fungus, it will be very offensive. Therefore, we check everything;
- Finally, the floors themselves. Without going into long arguments, just advice.
Advice!
Floors kitchens favor two materials: linoleum and tiled floor tiles. All, consider it an axiom.
Finally
You have noticed that we have highlighted the question of how to properly make repairs in the kitchen with an emphasis on possible risks and the rules for choosing a performance technique. The price of a wrong choice is nerves, wasted money and complete disappointment. To your attention there is also a video, there is also something to see.
