Content
- 1 Adhesive tape
- 2 Replacement of facades
-
3 Decoupage
- 3.1 Materials and tools
- 3.2 Step-by-step decoupage
- 4 Finally
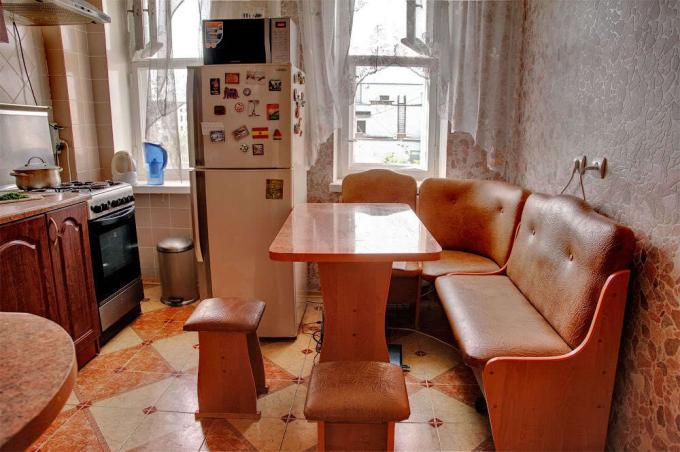
10, 15, and even more years have passed since the purchase of kitchen furniture. Now she does not look as smart, tidy and pretty as she was at the very beginning. And ordering a brand new headset, alas, is still only a dream. There is nothing left but to freshen up the old, but so familiar furniture. Therefore, we decided to throw you some interesting ideas, giving a master class on the topic "how to transform an old kitchen set."

A delightful restoration of the headset, made by a home craftswoman!
Adhesive tape
Perhaps the easiest and cheapest way to give a headset a fresh look is to cover it with self-adhesive tape. Fortunately, the assortment of high-quality films today is very, very happy: imitation stone, wood, marble, tiles, leather, all kinds of rustic and more modern motives - there is plenty to choose from! Thus, you can make your kitchen, although not exclusive, but very attractive.

It's just a self-adhesive tape - looks like a new expensive headset
Vinyl self-adhesive film is waterproof, good resistance to fading, temperature extremes and mechanical stress. So you don't have to worry about the durability of such a coating. Therefore, if you know how to handle a centimeter and scissors, then you will not have any difficulties in decorating.
The main thing that you need is accuracy, patience and this instruction:
- With the help of a centimeter we measure the kitchen set (sides, facades, drawers).
Advice! For more convenient and accurate measurement, it is better to remove the facades and put them on a flat surface.
- All fittings must be removed, and the headset itself must be thoroughly washed with a damp sponge. Pay particular attention to removing grease stains. The surface for pasting the film must be free from contamination, dry, even and smooth. Otherwise, over time, in problem areas, the film will begin to bubble and flake off.
- As a rule, a convenient centimeter grid is applied on the back of the film, on a protective paper layer. Mark on it all the required dimensions for each part.
Important! Even if you are sure that you have taken all the measurements with high quality, it is still advisable to leave 1-2 centimeters in reserve. Therefore, in those places where bends are planned, we add another 2 cm.

Self-adhesive vinyl stickers - no less beautiful and practical solution
- All parts are cut out with a clerical knife along a ruler. It is better to cut curved patterns with scissors according to the markings made in advance with a pencil.
- Now, having peeled off a few centimeters of the protective paper, we apply the film to any part of the headset. The glued area must be carefully smoothed out with a plastic scraper in order to remove air bubbles and folds from under the film.
Note! The film does not need to be glued all at once. Gradually remove the protective paper by 5 cm and smooth each glued area with a scraper.
Small bubbles with air can be pierced with a sewing needle, and large ones can be cut with a sharp knife and smooth the film. If the decorative coating is uneven, do not worry, this is fixable. The self-adhesive tape takes a couple of hours to permanently adhere, so you have enough time to peel the tape off the poorly finished area and re-apply it.
- We repeat all the above steps with the rest of the kitchen set. For its greater transformation, you can do one more touch - change all the accessories.
Read also how to arrange the furniture in the kitchen correctly.
Replacement of facades

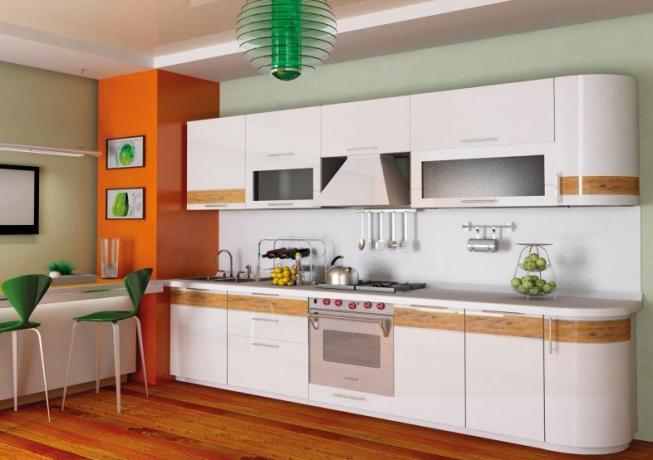
Here is such a variety among the facades of MDF and solid wood
Want more than just self-adhesive tape? Replace old facades with new ones! Of course, the price of the issue in this case will increase, but on the other hand, you can not only decorate the old kitchen set, but also partially update it.
If you have a set of standard sizes, then it will not be difficult to acquire luxurious ready-made facades. For atypical and out of fashion models, you will have to buy custom-made facades. Fortunately, today there are plenty of furniture companies that are ready to provide such a service.

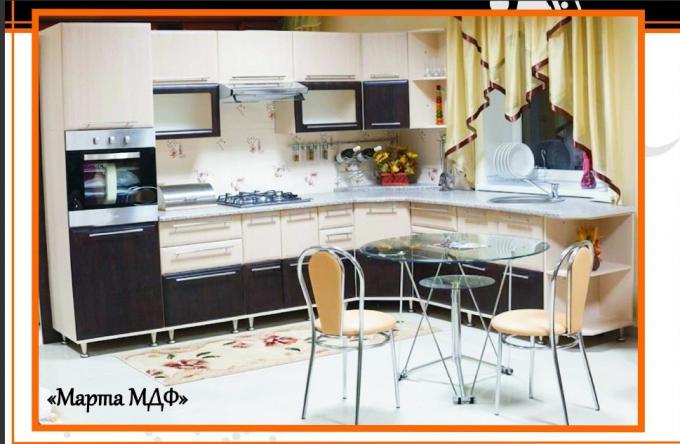
A good example of replacing facades
Deciding on new kitchen facades, you open up a unique opportunity - to choose not only a fresh design, but also material that is optimal in terms of cost and quality. Economical options include plastic, chipboard, and inexpensive wood (such as pine). But facades made of MDF and an array of noble trees are already a real prestige!

Stunning plastic facade
The installation of brand new facades can be entrusted to specialists or installed independently (on our website you will find a thematic video specially selected for you).
Find out also what is best for the kitchen - MDF or chipboard.
Decoupage

Fascinating kitchen decoupage
How to restore an old kitchen set? We completely forgot about such a fast, inexpensive, but very effective technique like decoupage! Its essence lies in cutting out beautiful compositions from various materials (paper, leather, fabric) and then sticking them on the surface to be decorated. Let's try together to create a similar beauty as in the photo!

Decoupage and aging of the locker
Materials and tools
- We need clippings from magazines, newspapers or paper with a printed pattern (it can be anything - it all depends on the style of the kitchen and personal preferences);
- Special glue for decoupage or regular PVA glue;
- Medium hardness brush;
- Acrylic varnish for wood or plastic.
Step-by-step decoupage
- If your kitchen unit has scratches, cracks, or other imperfections, fill them with filler and let dry.
- Gently sand the entire surface to be decorated with fine sandpaper so that you end up with a slightly rough surface. The areas to be decorated can also be coated with a primer or acrylic lacquer in a suitable color.
- Well, if the size of the sheet of paper with the image is large enough, then there will be no ugly joints. Don't have a large format printer at home? Do not be sad, because you can always order a printout of the desired size in the salon.
- Apply glue to the surface to be decorated and the paper. The latter should be thoroughly saturated with glue.
- Now you can apply the image to the surface and smooth it carefully with a brush or roller.
Important! Do not do it with your hand at all. Otherwise, wrinkles or tears may appear.
- When the paper is completely dry, cover it with 3-4 layers of acrylic varnish - this will protect your work from moisture and damage. Observe an interval of 1 hour between each coat. By the way, acrylic varnish can be glossy or matte, so you can achieve any desired effect.

Wall cabinets decorated with decoupage

Special decoupage napkins with kitchen motives
Finally
Well, now you know how to restore a kitchen set! We have considered just a few decoration options. But it should be noted that self-adhesive film, replacement of the facade and decoupage are a real find for every housewife! After all, you can only achieve a truly unusual decor by combining existing techniques and imagination. Enjoy your creativity!
Learn also how to make kitchen furniture at home.
Gallery