Content
-
1 Site selection and purchase of components
- 1.1 Electrical connection
- 1.2 Selection of tools
-
2 Installing a "helper" in the kitchen
- 2.1 Installing a drain
- 2.2 Water supply
- 2.3 Final check
-
3 Connecting a tabletop dishwasher
- 3.1 Summary
Who doesn't dream of a dishwasher? It helps to quickly cope with the kitchen routine and avoid the standard family dilemma: "who is going to wash the dishes?" If you are going to buy such a "helper", you should think about how the dishwasher is installed. Today I will describe in detail the algorithm of these actions so that you can connect the unit with your own hands.
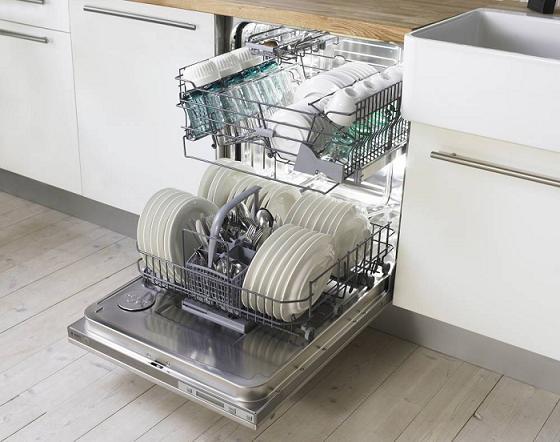
Dishwasher - and the kitchen is fine!
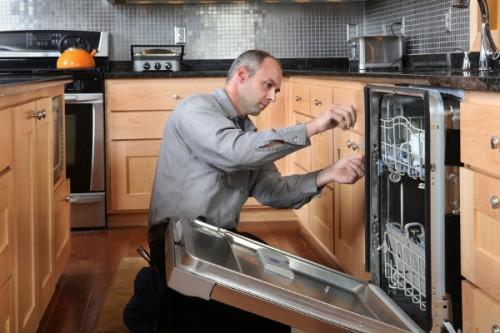
Why spend extra money to pay for the wizard, if you can do the connection of dishwashers with your own hands?
Site selection and purchase of components
One of the most pressing problems for installing kitchen appliances is small-sized kitchens. The dishwasher is no exception, most likely the opposite - it requires a little more effort, since it needs both water and electricity connections.
Oftentimes, when ordering a whole kitchen, most projects make space for the dishwasher as well. If there is no such place, then you can organize it yourself by choosing a model that is suitable for installation on a table or has a universal design.
In this case, you need to consider how to bring the drain system, a set of water and electricity, so calculate the dimensions and all the options in advance.

Machine installation
Electrical connection
We all know the elementary safety requirements when working with electrical appliances, and they completely fall under the installation of a dishwasher, with some nuances.
First of all, it is necessary to take into account the fact that the device should be connected only to a European socket, because it has a good grounding. Standard sockets without grounding are absolutely not suitable for installation.
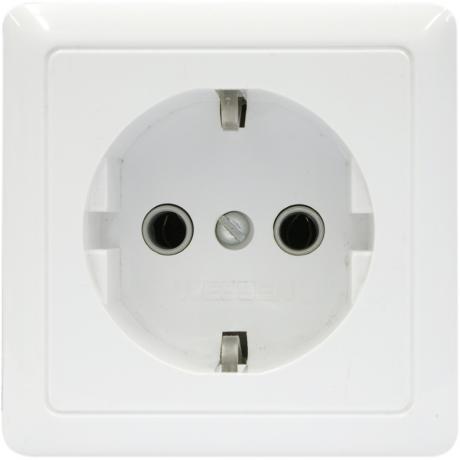
Euro socket with grounding
If grounding is not possible, grounding can be done by connecting the grounding wire to neutral. Are you the owner of "Soviet" sockets? Then contact the professionals to replace them.
They will be able to bring a new, grounded outlet to the required level (25-35 cm above the floor), as well as make an additional one with a branch through an automatic circuit breaker. In the diagram, you can see with your own eyes the recommended position of the wiring and the connection of the machine.
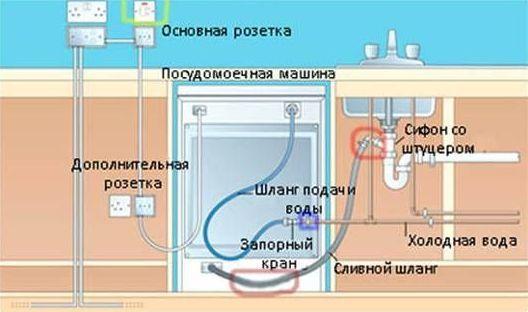
Dishwasher connection diagram
Selection of tools
Despite some difficulty in installing the dishwasher, we only need two tools: a screwdriver and pliers. You also need to take a roll of any electrical tape with which you can wrap the threads before tightening.
As a consumable, it is worth buying a waterproofing tape, which will provide waterproof connections, its price is low.
But the water system will need to be spent, and I recommend buying the following components:
- Brass or bronze tee, ¾ ”threaded. I strongly advise against buying silumin, as it weakly resists crystalline corrosion. Because of this, it can simply disintegrate, forming a serious leak.
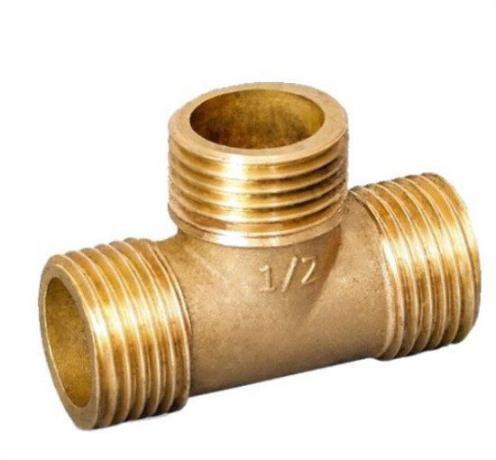
Tee with external thread
- Waste siphon with two or one connection. A double fitting is required for those who do not have an automatic washing machine. It can be connected to two drains at the same time, both a washing machine and a dishwasher. If you do not plan to install a “washing machine” in the kitchen, or you already have a separate drain for it, buy a siphon with one fitting.
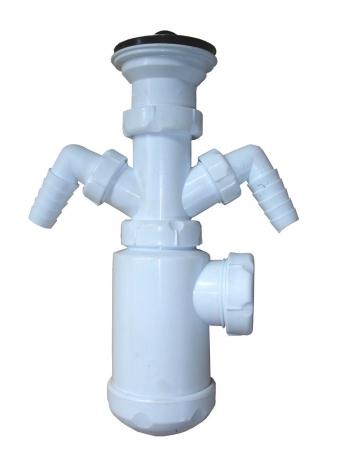
Siphon with two fittings
- Ball shut-off valve. Suitable from any material except silumin.
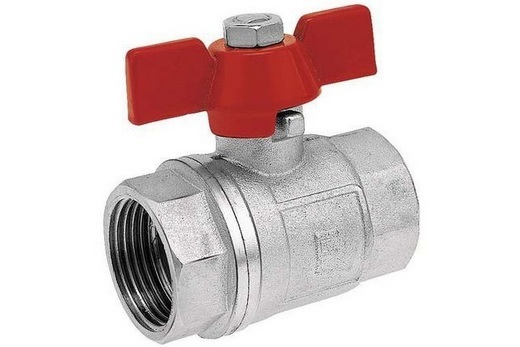
Stopcock
- Coarse water filter. It is not required, but if you want the dishwasher to last a long time, then I recommend that you install it.. Poorly treated water can cause serious damage. In foreign countries, there is the same problem, so the filter is one of the important elements.

Coarse water filters
- Additional reinforced plastic henka. If the machine is installed far from the sink, and the standard henk does not reach, then we acquire a new one of the required length.
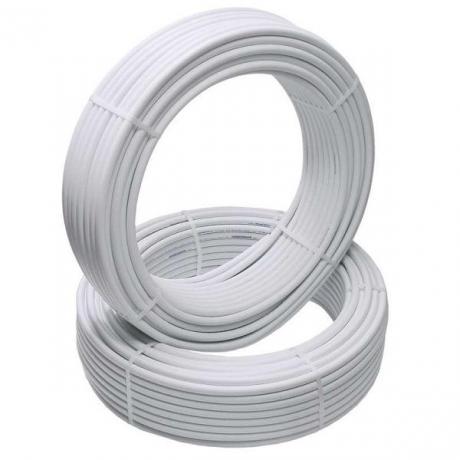
Reinforced plastic henka in a skein
This concludes the list of components, and we move on to the very installation process with our own hands.
Installing a "helper" in the kitchen
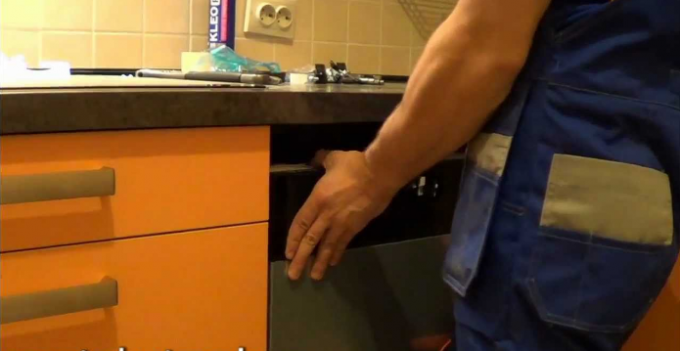
Installing a dishwasher is feasible with your own hands
I will describe all the stages in the required sequence. If you follow them, then the installation and connection of the dishwasher will not cause you any difficulties.
Installing a drain
Despite the simplicity of work, there are several conditions that must be met:
- The lower knee should be as deep as possible, and its bend should be shorter. This type of water blockage can be seen in the toilet and sink. It is extremely important for the dishwasher, because with an empty miasma drain, everything will go into the closed space of the machine.
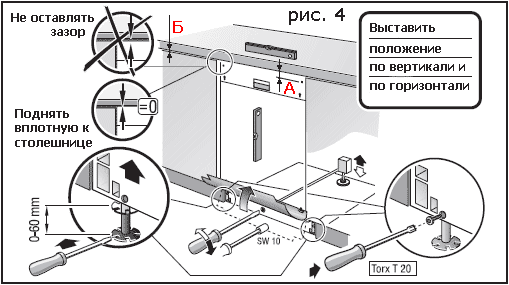
Rules for the location of the unit in the tabletop
- Upper bend for drain. With its help, we will prevent the drain from the sink from getting into the washing machine.
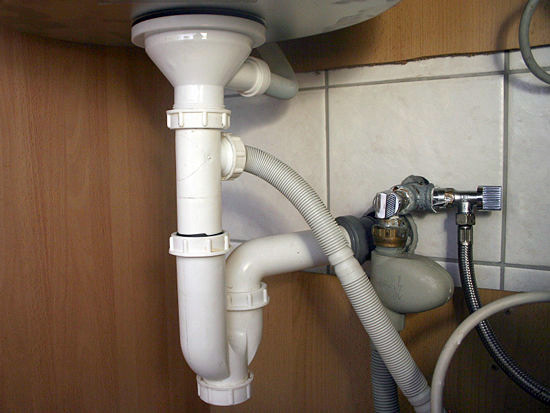
Siphon with ready connection
Do not run the drain hose directly into the sink. It will overload the machine's pump.
Water supply
By connecting hot water to the dishwasher, you will not be able to save on electricity. Hot water costs much more. And if you still have a boiler, then it will bring you the same loss.
Plus, hot water passes through the heating system of the boiler room, where it receives additional metal elements that increase its hardness. In the photo below, you can see the negative effects of hot water on this technique.

Limescale in the dishwasher
Hot water has a negative effect on the dishwasher, causing various breakdowns. Therefore, we connect only cold water.
Water connection stages:
- Closing water access to the apartment.
- Disconnect the cold water henka from the kitchen faucet and remove the old waterproofing.
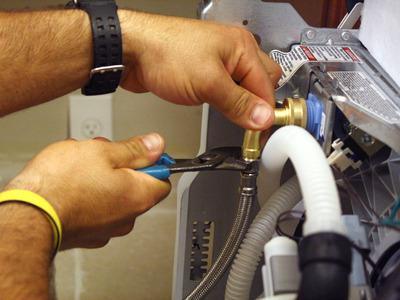
Connecting the "assistant" for washing dishes
- We install the purchased tee on the pipe, and then screw it back mixer and connect the filter. Then we add a ball valve and a henka machine to the system. Do not forget that all threaded connections require waterproofing with a fumka.
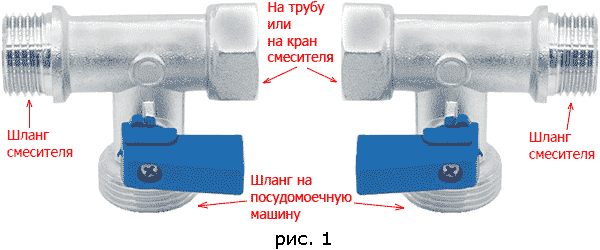
Illustrative diagram
- Checking all connections and closing the ball valve.
It is advisable to wind the fumka along the thread, but if it gets lost in lumps, then it is worth winding in the opposite direction. For good insulation, 10-15 layers are sufficient.
- If the additional socket is already installed, then all that remains is to plug in the dishwasher plug. Otherwise, you will have to conduct the entire electrical system according to the required data. As I said above, you need to call a specialist for this work.
Final check
The final step is to verify that the installation is correct. To do this, you must again restore water access to the apartment, and then open the shut-off valve for the dishwasher.
After that, turn on the unit itself and load a portion of the dishes into it. If there is a test mode, then we start it, if not, then we simply turn on the machine.
We check for water leaks and smooth operation. Is everything ok and meets the specified characteristics? We leave the shut-off valve open, and the automatic machine in the working position. This completes the entire installation.
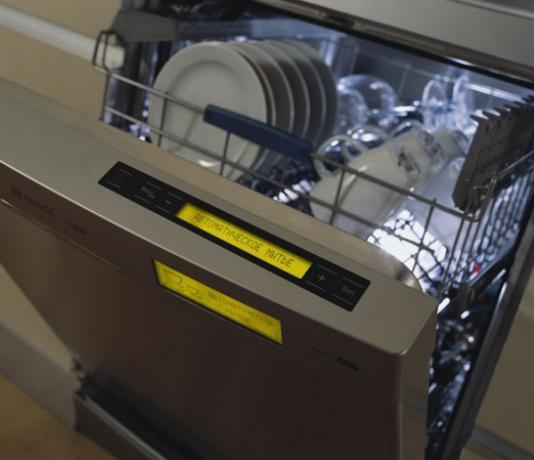
Dishwasher in working order
Connecting a tabletop dishwasher
Little space in the kitchen and you decide to install the dishwasher on the countertop?
You can do this, and you will also get a number of advantages:
- Avoid plumbing and siphon replacement.
- Get the ability to drain the drain directly into sink, without fear of miasma penetration into the machine.
- There will be no need to install an additional socket with a machine. You will not need to be afraid to flood the wires, only one euro socket can handle it. A common apartment automatic device, or standard plugs of the electrical system, will serve as a disconnector.
- You can almost completely avoid loading the drain pump. The pump is the most vulnerable and fragile element in the entire dishwasher, but thanks to the tabletop placement, the flow will go on its own.
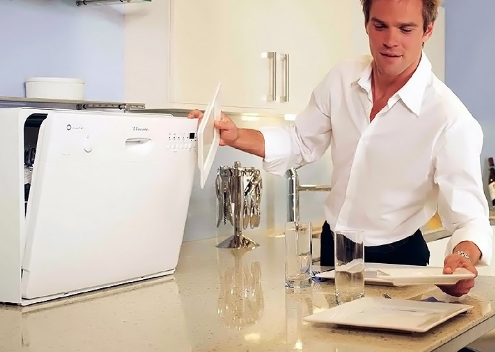
Tabletop dishwasher
The instructions described above are suitable for many types of dishwashers, as well as for a tabletop. By sticking to it, you can avoid unnecessary hassle.
Summary
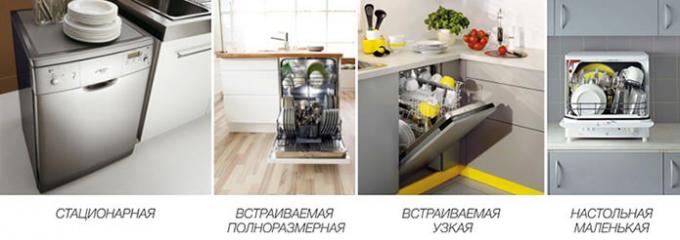
Types of dishwashers
After reading this article, don't you think that installing an integrated dishwasher or another type of it is a difficult job? As you can see, everything is simple! Follow my recommendations and you will certainly succeed.
For an exact understanding of the topic, watch the video in this article. If you have any questions, I’m waiting for them in the comments.

