Content
- 1 Types of household appliances to eliminate odors
-
2 Features of the telescopic hood
- 2.1 Key features
- 2.2 Benefits
-
3 Installation of the telescopic hood
- 3.1 Tools
- 3.2 Preparing the wall cabinet
- 4 Conclusion
The kitchen always smells of something tasty, but, you see, such smells are inappropriate in other rooms. Not sure how to get rid of food odors in your living room and bedroom? Installing a cooker hood will help solve this problem. In this article, we will tell you about such a form as a telescopic hood, list its advantages and show you how to install it.
Telescopic devices are compact and invisible
Types of household appliances to eliminate odors
So that you can appreciate all the delights that a telescopic hood for a kitchen has, we first consider all kinds of models that can be found in a modern kitchen:
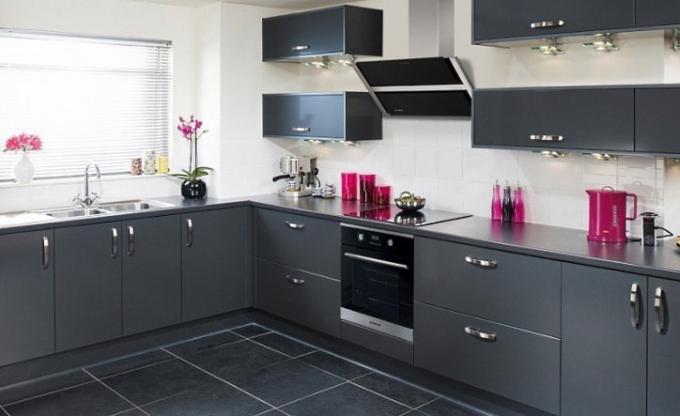
- Flat (standard). Fastened directly above the slab to the wall. Some models have a recirculation mode. Considered the cheapest option.

Flat models are the most budgetary option
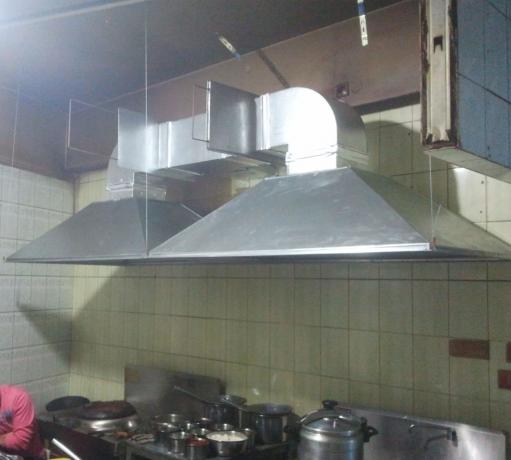
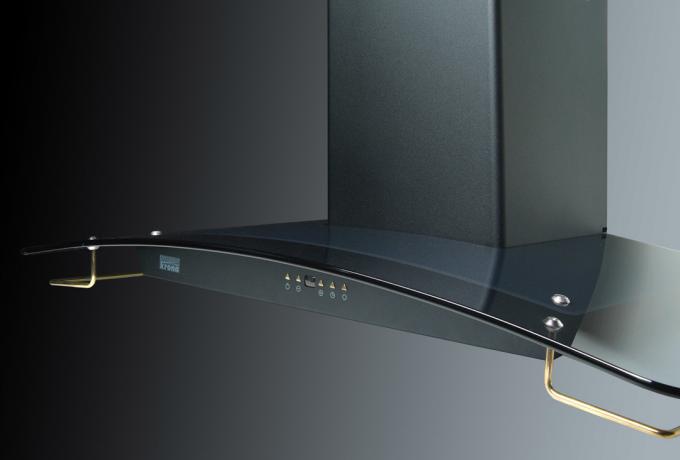
- Dome. Quite a popular option for "expensive" kitchens where style and grace are required. It can be made of different materials: glass, wood, steel. Due to its large size, it is not recommended for installation in a small room.
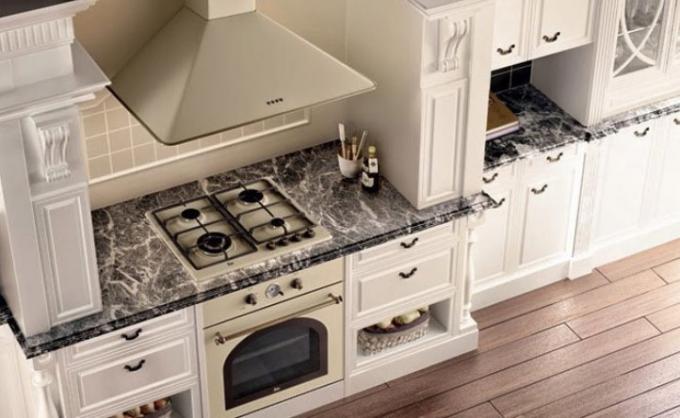
Dome models look impressive, but take up a lot of space
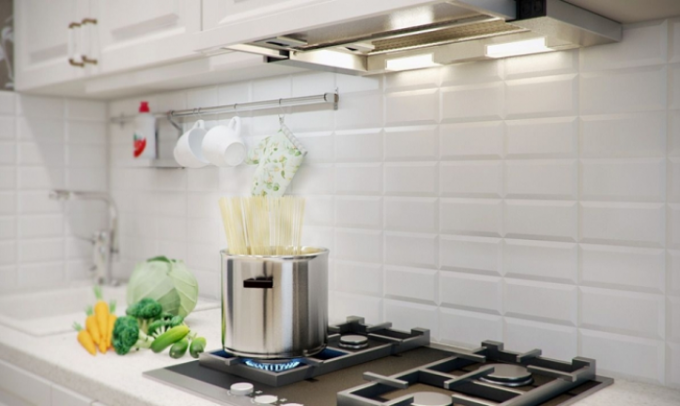
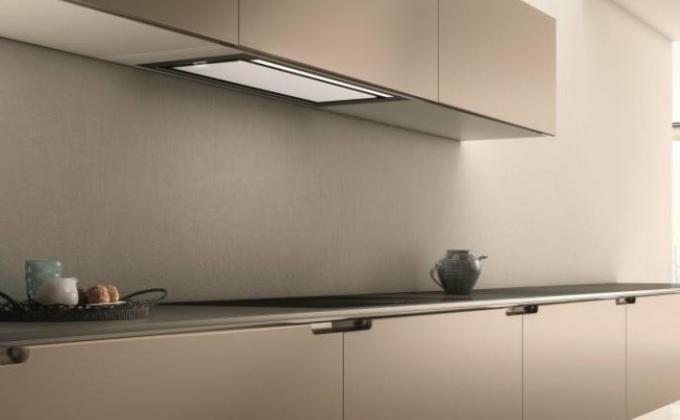
- Telescopic (built-in). Installed in a wall cabinet. Only the bottom panel is visible. Popular in small kitchens where any space needs to be used. The price is quite reasonable, not much different from the flat models.
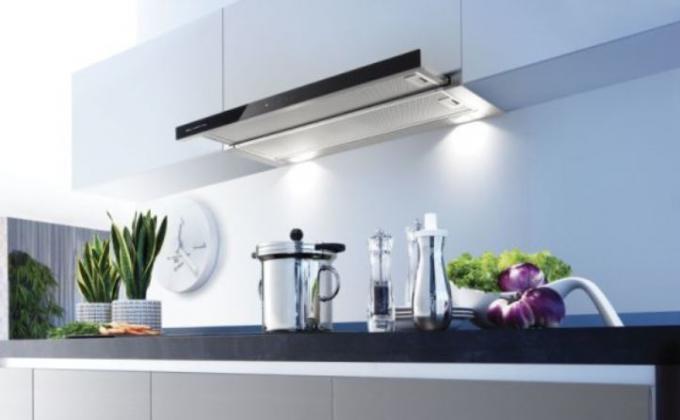
Kitchen built-in telescopic hoods - the best solution for small kitchens
We have listed only three popular types that are relevant at the moment. Other types are sold in stores, but there is no great demand for them.
Additionally read the article Corner hood for the kitchen: solving non-standard situations in the interior.
Features of the telescopic hood
In this section, we will look at the features of telescopic designs and their benefits. Having familiarized yourself with these nuances, you can more easily make a decision about installing the hood.
Built-in models are almost invisible in the interior
Key features
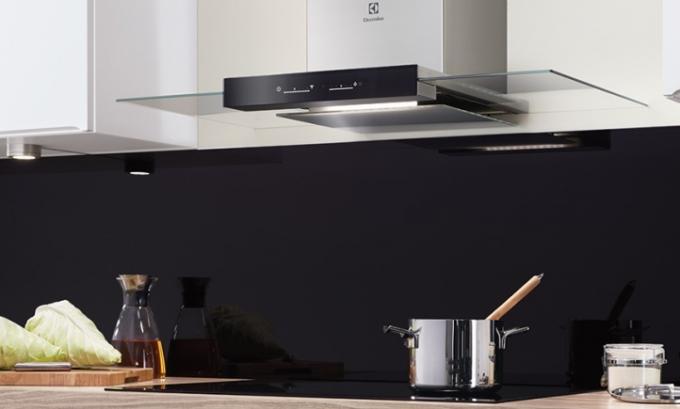
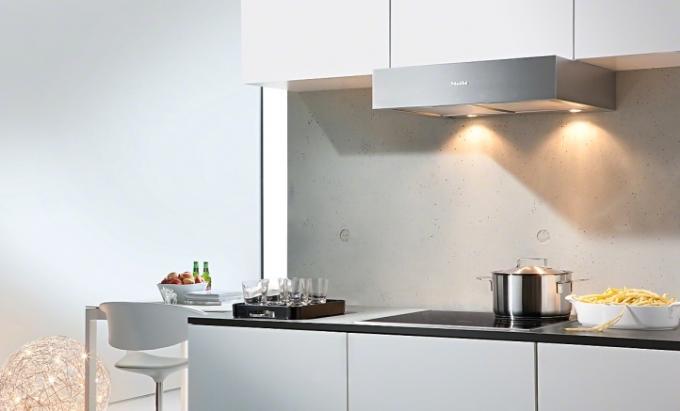
Full-size designs deprive a small kitchen of usable space and weigh it down. This telescopic model compares favorably with analogues. Due to the fact that most of the hood is hidden in a hanging cabinet, it does not take up much space and looks very compact.

The built-in unit (as in the photo) starts working after the pull-out panel is opened
Telescopic models are equipped with a grease filter. To start the hood, you just need to pull out the exit panel with a light movement of your hand.
Benefits
To make sure that this particular type of hood is the most practical for the kitchen, you need to familiarize yourself with its main advantages. Among the main advantages of telescopic models are:
- Large air intake area. It is achieved by a pull-out panel. This means that the aroma of hot or rich soup will hardly get into the living room.
The pull-out panel increases the air intake area
- Compact dimensions. You don't have to trim your kitchen set trying to distribute everything harmoniously. By installing the hood in the cabinet and turning on the recirculation mode, you will be able to use 2/3 of this cabinet with the maximum load.
- High power. The average capacity is around 500 m3.
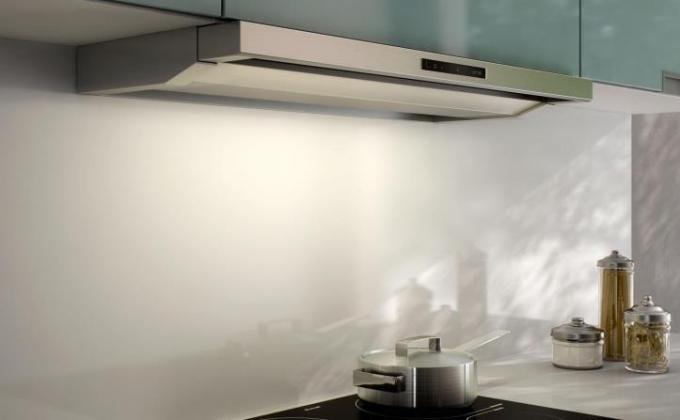
- Decorative component. Fits perfectly into any interior, as only a thin pull-out panel is visible.
The average capacity of telescopic devices is 500 m3
- Ease of use. This type of device is not equipped with many incomprehensible functions, its control is simple and easy.
- Functionality. The built-in telescopic kitchen hood can work in two modes: therefore, you yourself will decide whether to stretch the corrugation through the entire kitchen or not.
- Backlight. Of course, this function is present in almost every hood, but it is on telescopic devices that light serves as an additional lighting. Ideal for those who like to have a snack at night.

High-quality illumination of the device will improve the illumination of the working area
In addition, these models make it possible to use two filters at the same time: grease and charcoal.
The telescopic model does not create the feeling of bulkiness in the kitchen, which can appear, for example, when the dome model is installed. Still, from the aesthetic point of view, a "modest" hood is suitable for neat and strict kitchens.

Telescopic devices are equipped with a grease filter and a charcoal filter at the same time
The main disadvantage is the high noise level (about 60 dB) emitted by the hood during operation. True, due to the location of the structure inside the cabinet, the noise level is reduced. Although, if desired, you can find models with an indicator of 40 dB.
Installation of the telescopic hood
Of course, you cannot omit the process of installing the built-in hood with your own hands. Let's start with what you need to do this.

Even a beginner can handle the installation of the built-in model
Tools
To install the telescopic model, you need:
- drill and hammer drill;
- screwdriver;
- jigsaw;
- roulette;
- building level.
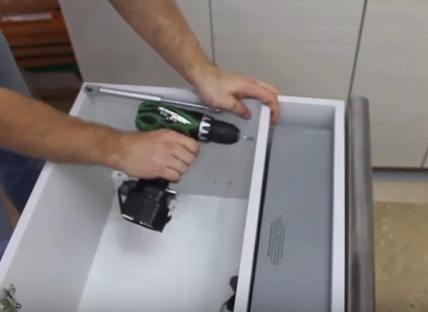
To mount the device, you will need a screwdriver, jigsaw, pencil and tape measure
Built-in telescopic kitchen hoods do not require any special fasteners; ordinary dowel-nails are enough for mounting cabinets. The device is attached to the cabinet with self-tapping screws.
Preparing the wall cabinet
Before installing the device, it is necessary to properly prepare the wall cabinet in which it will be placed.
Illustration |
Instructions for action |
 |
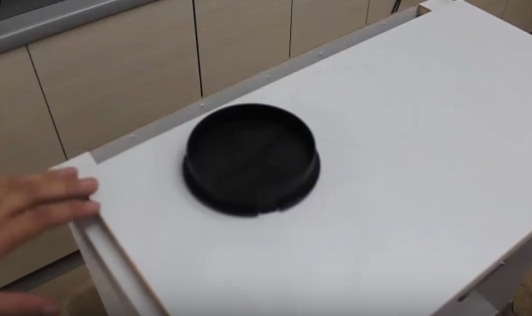
Take measurements. Attach a hood to the bottom of the cabinet and mark its dimensions. |
 |
Cut a hole for the device. This can be done with a jigsaw. In the side of the cabinet, make a hole for the corrugation. |
 |
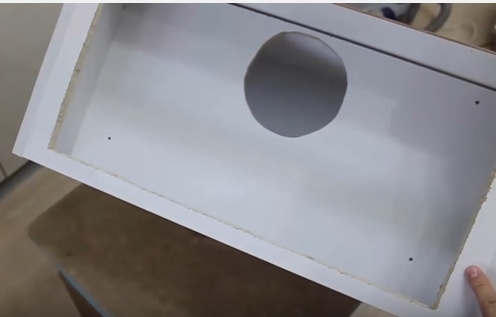
Mark the hole for the ventilation pipe. It must be done in the shelf to which the device will be attached. It is most convenient to take measurements using a valve from the hood. |
 |
Secure the shelf. Use furniture screws for this. |
 |
Make holes for fasteners. First mark, then cut out the holes for fixing the unit. |
 |
Secure the hood. Attach the structure to the shelf using a screwdriver. |
 |
Hang the cabinet on the wall. When everything is ready, all that remains is to attach the cabinet with the hood to the wall. The minimum height recommended by manufacturers is 55 cm from the stove. Maximum 75 cm, if higher - efficiency is lost, the smell will be absorbed in smaller quantities. |
This manual contains all the necessary sections that allow even an inexperienced person to understand the installation of a telescopic hood.
If you need more information, then the article Installing a hood in the kitchen according to the rules: step-by-step instructions will be useful to you.

There is nothing difficult in installing the hood - the main thing is to follow the instructions
Conclusion
As you can see, there is nothing difficult in installing an electrical appliance. The most important question for you is the choice of model, since they may differ not only in power, but also in the appearance of the pull-out panel.
Read also the article Hood pipes in the kitchen - features of choice.
At the end of the article there is a video: a built-in telescopic kitchen hood on your own. We attached it specifically for those who want to visually familiarize themselves with the installation process.