Content
- 1 General information about kitchen hoods
-
2 Homemade drywall hood
- 2.1 Tools and materials
- 2.2 Manufacturing
- 2.3 Manufacturing of the hood body
- 2.4 Hood finish
- 3 Active extraction from plywood
Quite often, during the re-equipment of the kitchen, we are faced with a problem: the kitchen hood either does not fit in size with our headset, or does not fit at all into the design of the kitchen. A way out in such a situation can be a homemade hood for the kitchen - and let its creation require much more from us time than installing a factory hood, but as a result we get a device that ideally suits all our requirements!
In this article, we will tell you how to make your own cooker hood in the kitchen, and give two fairly detailed instructions for making it yourself.

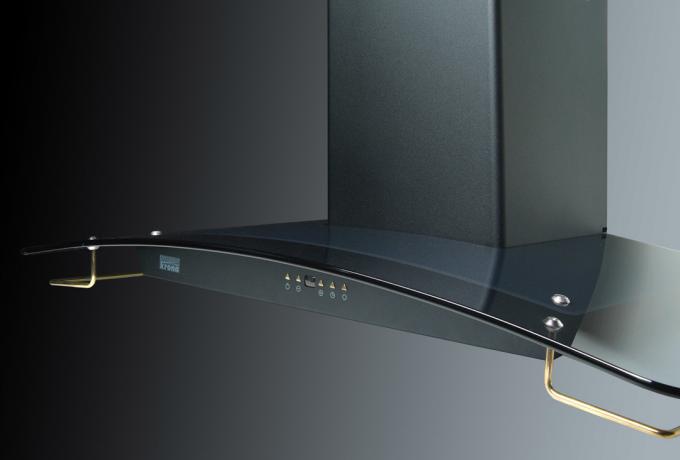
Homemade hood
General information about kitchen hoods
Before proceeding to the consideration of the proposed options for the manufacture of devices for removing "exhaust" air from the kitchen, it is necessary to understand the very principle of the hood operation.
As the name implies, a kitchen hood with an effort "pulls" hot polluted air from the kitchen - or rather, from the space above the stove, and then removes it from the room.

The scheme of the hood
As a rule, air is removed into the ventilation ducts of the building - that is why, when buying or manufacturing a hood, you must first of all take care of the proper state of ventilation at home. If there is no draft in the system (and this happens when the ventilation has not been cleaned for a long time), then the efficiency of the hood will be extremely low.
In order for the air to be removed as efficiently as possible, it is necessary, along with proper ventilation, to ensure its sufficient flow into the room.
Note!
If you have metal-plastic windows with a high level of tightness installed, you may observe some problems in the operation of the hood - therefore, experts recommend either using the micro-ventilation function, or installing supply ventilation on the windows valves.

Vent valve
The modern home appliance market offers us many models of hoods, but by and large they can be divided into two large groups:
- Passive - hoods of the dome type, which remove air exclusively due to the ascending draft. There are no electric motors and fans inside these devices, but such a hood will work only if the ventilation ducts of the building or a high ventilation pipe are in good condition.
- Active - hoods, the operation of which is provided by an electric motor installed inside. Such devices work more stably, but consume a lot of electricity.
Hood of any kind you can do it yourself. At the same time, the final price of the new device will be much lower than that of the one bought in the store, and even more so than that of the custom-made one.
Below we will tell you how to properly make a hood in the kitchen if you want to create a truly individual model!
Homemade drywall hood
Tools and materials
The easiest way to make a hood is to build a corrugated pipe with an electric fan into a kitchen cabinet located directly above the stove or hob. But such a hood cannot be called beautiful - which means that we will go another, more difficult, but more productive way!

Frame elements
To make a passive-type domed hood, we need:
- Moisture-resistant drywall - from it we will make a box to accommodate the duct and the dome of our hood itself.
- Galvanized metal profiles - for the frame of the box and dome.
- Perforated metal corner to decorate the corners of our hood.
- Corrugated pipe - air duct.
- Fasteners.
- Insulating material for wrapping the corrugated pipe.
- Putty and paint for finishing the dome.

Corner overlay
The set of tools with which we will make our hood is familiar to anyone who has ever worked with drywall:
- Perforator.
- Screwdriver.
- Shears for metal for trimming profiles.
- Roulette and level (preferably laser).
- Spatulas and brushes.
When everything is ready, you can start working.
Manufacturing
We begin work on the manufacture of the hood with the layout of the room. We will need to place on the wall not only the hood itself, but also the air duct, which we will hide in a drywall box to ensure the aesthetic appearance of our kitchen.
The easiest way to do the markup is if the ventilation hole in the kitchen is above the stove itself. If the hole is to the side, it is necessary to mark on the wall the position of the duct for laying the air duct.

Hood layout
Note!
If you plan to make a suspended plasterboard ceiling in the kitchen, then you can not hide part of the duct, but let it go under the ceiling sheathing.
When we have decided on the placement of the duct, we proceed to the manufacture of a frame for it:
- On the wall at the level marking the lower surface of the duct box, we attach a starting profile made of galvanized metal.
To fix the profile, we use an anchor with a 6 mm plastic sleeve. - We also attach the starting profile to the ceiling according to the markings we have applied. If we plan to make the duct box curved, we cut and bend the profile before fastening.
- We lower several vertical fragments of the main profile from the starting profile down, attaching them to the starting profile using self-tapping screws.

Drywall box
- We complete the formation of the frame for the box, installing another panel of the starting profile on the resulting suspensions.
On the lower part of the resulting profile, we install transverse strips, which will then be sheathed with plasterboard.
You can study in more detail the technique of working with drywall and a profile for it by watching video instructions on the Internet.
Manufacturing of the hood body
The box is ready - it's time to move on to making the hood itself:
- From the starting profile we make the lower frame of our hood, fixing it on the walls of the kitchen. The easiest way is to attach the frame if we install a kitchen hood in a niche - otherwise the side parts of the frame will need to be additionally fastened to the box.
- From the main profile, we cut out the frame elements of our future structure, and use them to connect the box with the lower frame, as shown in the photo.

Hood frame
- To give the structure rigidity, we reinforce the side surfaces of the hood with transverse bridges from the profile.
The frame is ready. Now it remains to connect the air duct from the corrugated pipe to the ventilation hole - and you can sheathe the dome with plasterboard.
To prevent the air duct from making noise during the operation of the hood, we wrap it with batting or other sound-insulating material.
Advice!
Before making an air duct for a kitchen hood and connecting it to the ventilation - check for a draft in the system.
If it is not there, it is necessary to contact the operating authorities for cleaning the ventilation ducts of the building.
Hood finish
We finish the hood as follows:
- The duct box and the hood body are sheathed with plasterboard.
- Protect the corners with a metal perforated corner.
- The resulting plasterboard structure is putty, masking the joints of plasterboard sheets and the location of the fasteners.
- We paint the hood in the color of our choice or we finish it in another way. Our homemade cooker hood is ready.

Extraction after putty
The advantage of this technology is that this instruction is suitable not only for the manufacture of a passive hood, but also for the manufacture of an active type hood. In this case, it is enough to install an electric motor inside the housing at the inlet to the air duct and connect it to the network.
Active extraction from plywood
There is another way to make the hood yourself. To implement this method, we need an old, but still workable hood - go, you can buy an inexpensive new model.

Dome frame
We perform work on updating the appearance of the hood according to the following scheme:
- First, we assemble the base, not on the basis of the old hood, i.e. bottom frame with installed exhaust grille and electric motor.
The appearance of the structure should not bother us - anyway, then these details will be hidden behind the skin. - Then - we install on the base the frame elements made of curly strips. The shape of the frame can be arbitrary - if only it would allow us to place an air duct inside the dome.
- Cut out the walls of the hood dome from thin plywood and glue the frame with them. For more accurate gluing of the dome walls, we use clamps with soft plastic or rubber nozzles.

Pasting the frame with plywood
- After the glue has completely polymerized, we grind the plywood dome, process it with putty and paint it with interior paint in the selected color.
We only had to fix the hood on the wall (if we used the old structure, then the fastenings on it should have been preserved), after which - connect the air duct to the hood in the kitchen and disguise it with a decorative box. Well, we already know how to make a hood for the kitchen hood!
Of course, this technology concerns exclusively the design of the hood - but it is available to almost anyone. A few days of work - and your forge will have a device that no one else will have!
We hope that the recommendations given in this article were useful to you, and you found the answer to the question of how to make your own hood in the kitchen. Of course, the task before you is not the easiest one - but if you try, the result will be really impressive!