Content
- 1 Materials
- 2 Variety of designs
-
3 Stages of mounting a bar counter
- 3.1 Table top
-
3.2 Installation technology
- 3.2.1 Drywall
- 3.2.2 Wood
- 3.2.3 Brick
- 4 Finally
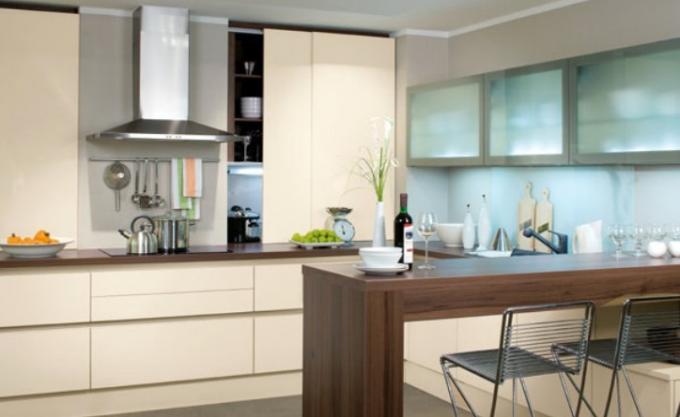
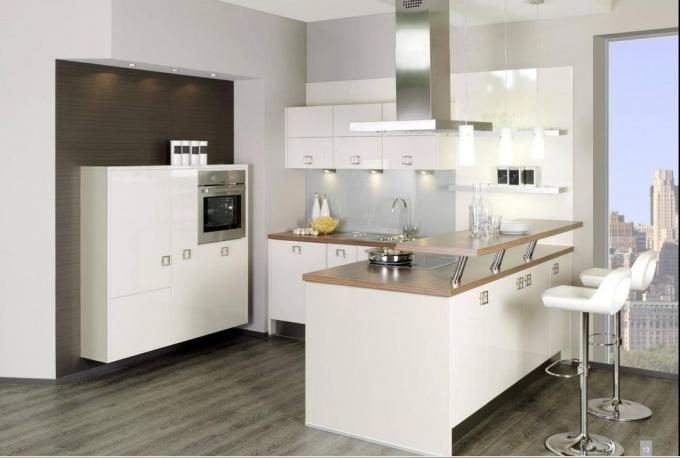
The bar counter is a universal element of decor that can perform 3 functions at once: to be a replacement standard dining table, delimit areas in the studio kitchen and be the most important accent of a stylish interior. It will be a good addition both in a small kitchenette and in a fairly spacious area. But today I will not describe all the advantages and features of this accessory, in this article I want tell how to create a bar counter with your own hands and offer an interesting master class on its installation.

The bar counter is definitely not a superfluous accessory in the kitchen
Materials
The creation of a bar counter begins with the correct selection of materials. I hasten to please you - since the accessory for the kitchen is made in the "mini" format, a lot of raw materials are not required, so that especially large financial costs are not expected.
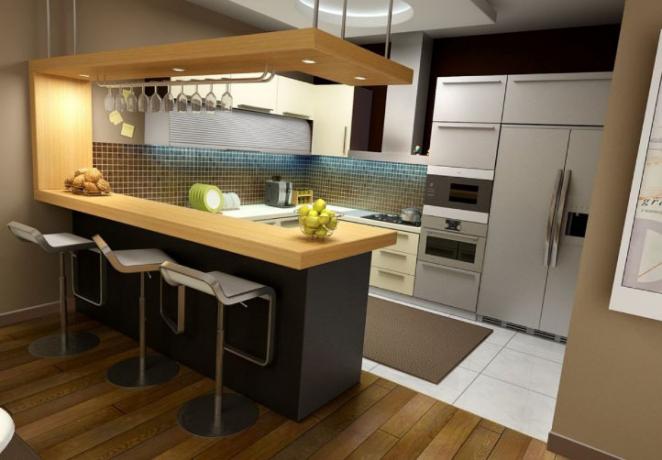
The choice of materials for construction is varied
So what materials can you use in this creative process?
- Plastic. Something about which you can say "cheap and cheerful". Lightweight, cheap and available in a wide range of colors, and easy to process.
But plastic has one impressive drawback - its insufficient strength. So you either need to be extremely careful or look for an alternative.

Plastic stand - nice, but not very strong
- Laminated chipboard. This option is more expensive than the first, and the processing process is much more complicated. In contrast to this, you can put more durability in comparison with plastic and an even greater variety of colors.capable of imitating any surface - from noble wood to cold marble.
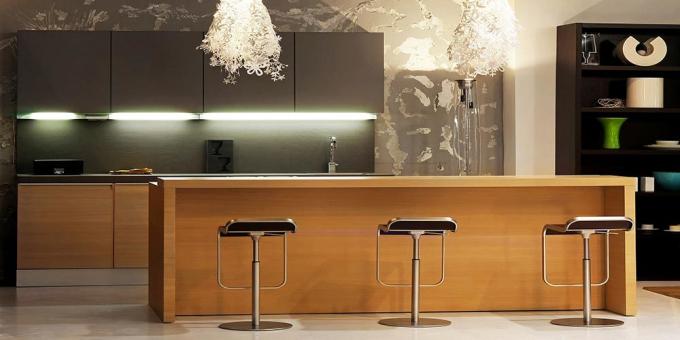
Chipboard sheets can simulate almost any surface

One of the simplest chipboard rack options
- Drywall. The main advantage of this type of material is the ability to use it to create structures of any shape.. Painting drywall is also not difficult, the color is optional.
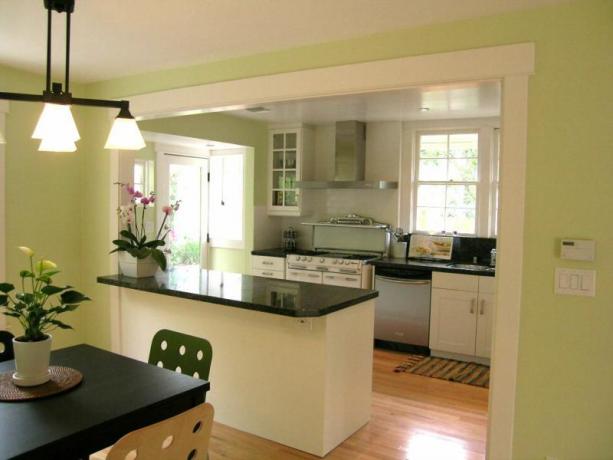
Drywall looks quite presentable

Any configuration
- Wood. Moreover, not every ordinary wooden board is suitable here, only valuable species will be appropriate. The wooden bar counter will look amazing, but it has two drawbacks: the price, which some will turn out to be exorbitant, the complexity of processing, requiring at least elementary carpentry skills.

Expensive woods cannot look simple

Natural materials - solid
- Brick. It will cost more than plastic or drywall, but the effect will be incomparable. Brick racks fit into almost many areas of the interior, they look interesting and solid.

The brick rack is durable

The main element of the interior
Variety of designs

There are a lot of options for bar counters, their choice depends on your taste, decor and budget

Before purchasing materials, you must have a clear idea of what the structure will look like in the end.
With the materials, everything is very clear. Choose something according to your taste and financial capabilities. Before the bar counter for the kitchen with your own hands appears in your apartment, it would be nice to decide on its appearance.
To help you a little in this matter, I suggest that you familiarize yourself with the most popular rack options:
- Classical. Standard construction based on tall consoles. Most often it has a height of 1.1 or 1.15 m.This counter will look especially good with high bar stools.

The simplest, but no less interesting option for the bar counter

A practical solution
- Combined. This is not a full-fledged separate counter, it is combined and, as it were, is a continuation of the dining area. The height of such a structure will correspond to the height of the working surface to which it is adjacent (approximately 0.9 m).
The most comfortable chairs in this case are models with a height of 0.6 m.

The stand can be an extension of the working area

Another example: the continuation of the window sill
- Two-tier. It implies the creation of a counter with two different levels (which is logical), one of which will play the role of the bar itself itself, and the other - the dining table.

Two-tier rack - an option for those who do not experience restrictions in square meters
This option will fit well into the kitchen-dining room. It is enough to place the half, which acts as a counter, closer to the living room, and to unfold the structure towards the kitchen with the dining area.

Two-tier design - when there is where to turn
- Stand-island. In this case, the rack is installed directly in the center of the kitchen (if the area allows, of course). You can also place the worktop and hob there, and even sink.

A lone counter only looks good in a spacious kitchen
Stages of mounting a bar counter
A bar counter in the kitchen with your own hands is created in several stages. I recommend starting with the countertop as the main interior accent.
Table top

Table top

The material for the countertop should not only be durable, but also visually attractive
For the manufacture of countertops, chipboard or veneer is often used. But you are free to choose whatever you want, as long as the material is durable, resistant to wear and, of course, visually attractive.
Further the scheme of actions is quite simple:
- Decide on the desired shape of the countertop.
- Carefully estimate and carry out all the necessary measurements.
- Cut out the desired shape from the material (preferably with a jigsaw).
- Smear the cut points and the edge and paste over with special tape.

Why buy a ready-made countertop if you can make it according to your own design?
There is also a much simpler option - to buy a ready-made countertop. But you must admit that if you really do the bar yourself, then you should do it entirely.
Installation technology
The base is another important element, without which your bar counter will be, to put it mildly, inferior. And if everything is extremely simple with the creation of a countertop, then at this stage many nuances may appear that I would like to voice in more detail. The lower sections will contain more detailed instructions for making a base from different materials.

Doing it yourself is not as difficult as it might seem.
Drywall
Do-it-yourself drywall bar counter is done like this. First, you need to collect all the necessary tools. It includes:

You can't do without the right tools
- directly the drywall itself;
- building level;
- dowels and metal profiles;
- putty knife and putty;
- puncher;
- knife, paint and tray for it;
- sealant, brushes, roller;
- screwdriver and cutter.
When everything is collected and rechecked, it's time to start working directly.
Follow the instructions below.

Frame for gypsum board
- Calculate the required base dimensions - the height, width and length of the future rack. Take your time, remember that the height of the structure largely determines the ease of use.
- Next, you need to create a solid frame. To give it rigidity, the corners for fastening must be cut with metal scissors from a solid profile and bend them at an angle of 90 degrees.
- Fix the guide profile to the floor or wall with dowels.
- Create two wall frames using metal profiles. Connect them together with transverse profiles. Secure with notches.

Backlighting, like other cables, must be carried out even at the stage of arranging the frame
- If you want to have a stylish bar lighting, it's time to bring the wires to the structure at this stage.
- Check the frame for stability. If everything is in order, you can start lining it.
- Drywall sheets are attached to the base with self-tapping screws.

Self-tapping screws
To hide the caps of the self-tapping screws as successfully as possible, they should be slightly "drowned" in drywall. After that, it remains only to putty the surface and paint it in the desired color.
- After installing the drywall sheets, carefully putty each joint with an assembly mesh. This will further prevent cracking.
- If, upon completion of the installation of the structure, some of its places do not fit tightly to the wall, the voids can be sealed with a sealant.
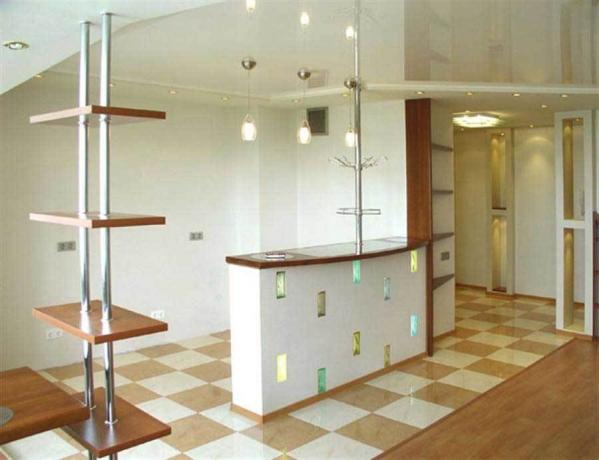
As a result, you can get a very interesting design
Wood
I will not say that the installation of a wood base is very different from similar work with drywall, but the nuances are still present.
You need to start everything with the same selection of tools:

And again, you can't do without a frame
- timber 5x10 cm;
- MDF sheets with a thickness of 18 mm;
- trimmed board 2.5x30 cm;
- plinth;
- self-tapping screws;
- paint and sealant;
- varnish.

Pallet rack option - cheap but cheerful
All the necessary tools at hand?
Then you can safely get down to business:
- Starting from the conceived design of the structure, measure its required length, height and width.
- On the floor and wall, draw the markings for the future frame. Along the marked lines, begin to attach the body.

Do not be mistaken in size, measure carefully, only then cut
- Install the support legs, secure them with cross beams. The height of the racks must be equal to the height of the work surface in the kitchen. It is not only convenient, but also looks more aesthetically pleasing. By the way, the cross posts should be checked according to the building level.
- Between themselves, the racks must be connected with transverse bars. If desired, furniture corners will help to fix the structure.
- Finish the finished frame with wood panels.
Fill each gap formed with acrylic sealant, and treat the ends of the countertop with molding.

And you can even build such a rack yourself
Brick
A brick bar is a fairly impressive and solid structure, whose strength is beyond doubt. For such a construction, I would recommend using red brick - it itself looks luxurious and does not require additional decor. In this case, it is worth choosing options from marble, MDF-plates or dense wood as a countertop.

One of the simplest options for a bar counter for brickwork

Brick is durable and incredibly attractive in terms of design
Since the brick structure is quite heavy, a concrete screed is needed to base it. If the kitchen has wooden floors, it is better to abandon the idea.
All that is required for such a rack is bricks and cement mortar. Just lay out the bricks row by row in the required shape and fasten them with the prepared solution.
Finally
Now you know exactly how to make a bar counter with your own hands, and you can already plan something to update your own interior. Keep in mind that mounting the rack is far from the final stage of repair work; Believe me, afterwards you will want to equip it with additional wall cabinets and shelves, but this is a completely different story.

There are a lot of options for performing, but which one will you choose?
In addition to the information received, you can watch the video in this article. In the comments below, ask your questions on the topic, tell us about your experience in arranging a kitchen with a bar counter, or share the secrets of what you store in it.
