Content
-
1 Installing a kitchen unit
- 1.1 Tool
- 1.2 Supporting materials
-
2 Assembling the headset
- 2.1 Bottom (base) cabinets
- 2.2 Top (top) cabinets
- 3 Material selection
-
4 Plastic table top
- 4.1 Installing the countertop
-
5 Acrylic countertop
- 5.1 Installing an acrylic tabletop
-
6 Quartz countertop
- 6.1 Installing a quartz countertop
- 7 Bar counter installation
- 8 Features of the workflow
- 9 Conclusion
When purchasing a kitchen in a store, you will surely face the question, who will install it? There are two answers: the first is hired workers from the store, the second is by their own forces. And remembering the saying "if you want to do well, then do it yourself" it turns out that it is better to take the initiative into your own hands. Our article will help you solve this problem.

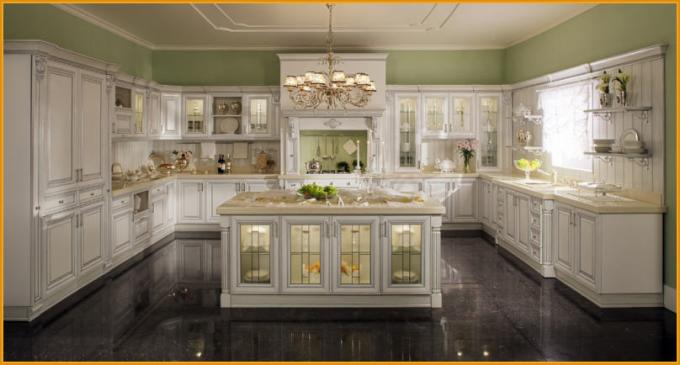
Everything is in your hands: you just have to want
Installing a kitchen unit
There is nothing complicated in assembling and installing kitchen cabinets, there is a detailed instruction for each product, where everything is thoroughly described. However, before starting work, let's select all the necessary tools with which the work will be done.
Read also the article Kitchen countertops: the variety is impressive.
Tool
- A puncher is required for hanging cabinets if you have concrete walls.
- The drill is suitable for brick walls. It can also be used instead of a screwdriver.
- A screwdriver is an option for wooden houses. One is enough to assemble all the kitchen cabinets and screw the screws into the wooden walls.
- Roulette and construction square. Without measuring instruments, no repairs will be completed.
- Building level.
- You will need a jigsaw for cutouts in the countertop for the sink and hob.

The jigsaw is used not only for plastic countertops, but also for acrylic surfaces.
- A hammer or mallet.
This is the most basic tool, without which neither the assembly nor the installation process of the kitchen set will work.
Supporting materials
Another section that needs to be read before starting work, it lists all the additional materials that will be required during the installation of the headset.
- Silicone sealant. For convenience, purchased with a special pistol. It is necessary for processing the end of the countertop, in the places of cutouts for the sink.

The sealant can be applied both to the countertop and to the sink
- Cross-section ties. Fixing two pedestals together is much more reliable than ordinary self-tapping screws.
- Silicone door bumpers. Allow to reduce the amount of noise when the door contacts the cabinet.
- Self-adhesive plugs. With their help, it is easy to hide the caps of screws and bolts on the front parts.
Note! The price of all the above materials fluctuates around 5 rubles apiece, except for the sealant. Therefore, saving, in this case, is meaningless, and functionality is lost.
Assembling the headset
Specialists install kitchen cabinets at will, someone starts to hang the upper cabinets, someone finds it easier to install the base. But this is already everyone's personal preference, so you should not be guided by someone. The main thing is to start.
Bottom (base) cabinets
- Spread the legs as close to the corners as possible. The load will be on these parts.
- Hang the doors at the last moment, initially - collect all the cases.
- Fix all the pedestals to each other and level them.
Advice! If you started with the lower cabinets, then it is better to install the worktop after installing the upper cabinets. So you will protect yourself from unnecessary defects and accidental damage.
Top (top) cabinets
- It is advisable to mount on special suspensions that are attached to a metal strip. These cabinets are easier to hang and remove.
- Install doors and shelves only after the cabinet is securely attached to the wall.
- The minimum distance between the worktop and the bottom of the wall cabinets is 550 mm.
However, you can fasten it as you like, it all depends on your height. The only thing worth paying attention to is the cabinet above the hob or stove - a very high temperature will adversely affect its condition.
But, this is only as regards the assembly of the headset, but there is another important question, how is the countertop fixed in the kitchen?
Material selection
Of course, the choice of materials for the countertop is not abundant, however, even three options can confuse and make you think.
Plastic table top
What is plastic? These are several layers of paper that are glued together. The thickness of such a product rarely exceeds 1 mm; it is mainly used for kitchens from 0.6 mm.
Note! If you opted for a plastic product, be careful - there is a 0.3 mm thick surface, which is considered the most fragile and "delicate".
The basis of plastic countertop for kitchen - ordinary chipboard: cheap and short-lived. But that was several years ago, today consumers prefer moisture-resistant chipboard or MDF. They are slightly more expensive, but more reliable in operation.
Positive traits:
- Easy to install. This does not require any special tools.
- Suitable for use with a jigsaw: easy to cut under the sink.
- Low cost.
Negative features:
- Can be easily damaged. The surface is afraid of various cuts, contacts with heavy and sharp objects.
- Chips and cracks are not removed.
- Not resistant to high temperatures.
Let's take a closer look at attaching a countertop to a kitchen unit.
Installing the countertop
- Before starting the installation, unpack the worktop and inspect it for chips and cracks.
- If everything is clean, then the next step is to check the level of the lower cabinets. It must be positioned correctly.
- Holes are drilled in special ties located in each pedestal under the very top.
- Putting the worktop on the pedestals, mark, if necessary, where the sink and hob will be located. Do not fix it yet.
- Take the jigsaw in your hands and cut the holes so that neither the cabinets nor the countertop are damaged.
- Treat the sawn ends with a sealant and let it dry for 20-30 minutes.
- Position the countertop as needed.
- Tighten the screws through the ties in the pedestals.

Self-tapping screws are screwed in four pieces per cabinet: two are located on the front brace, two on the back
Note! If the base of your kitchen unit is leveled and the countertop itself is curved, just press down firmly and tighten the screw. Particleboard products easily buckle due to improper storage or ambient temperature.
Acrylic countertop
Positive properties:
- Reliable and durable. Any chip or crack is removed with a grinding tool.
- Not afraid of temperature extremes and high humidity.
- The widest choice of shades.
Cons of acrylic products:
- It cannot be processed at home; this requires a special tool.

A sander is required for restoration
- Overpriced.
Installing an acrylic tabletop
Since acrylic is not glued with your own hands at home, for this you need to contact a furniture organization and call a measurer.
After that, the specialist creates a project on which he outlines the kitchen set and the location of electrical appliances and sinks. He also notes where the wooden bars will be located, through which, in fact, the fasteners are carried out.
Note! If you have an L-shaped kitchen, then you should also order the installation of the countertop from the organization. This is due to the fact that it will be necessary to glue and grind the surface, and this requires a tool.
- Drill the screeds ahead of time in the places where the wood will be on the acrylic countertop.
- Lay the finished product as it should lie according to the project.
- Screw in the screws.
Quartz countertop
Of the shortcomings, only a large weight and price can be identified, but when you know its positive qualities, it immediately becomes clear why such a cost:
- Impossible to damage. The surface of the material has the hardness of natural stone, so an accidental blow from a knife or pan will not leave a trace.
- Hot pans are also not dangerous.
- The color is identical to natural materials.
Installing a quartz countertop
This section is similar to the installation of an acrylic tabletop, because the manufacturing technology for these materials is similar. Therefore, in the case of an indirect kitchen, you should contact the specialists who will glue the surfaces.
Further on the photo you can see several options for countertops of all the listed types.

A porcelain stoneware tabletop that weighs several tens of kilograms

Acrylic top can be of two types: with a matte surface and with a glossy surface

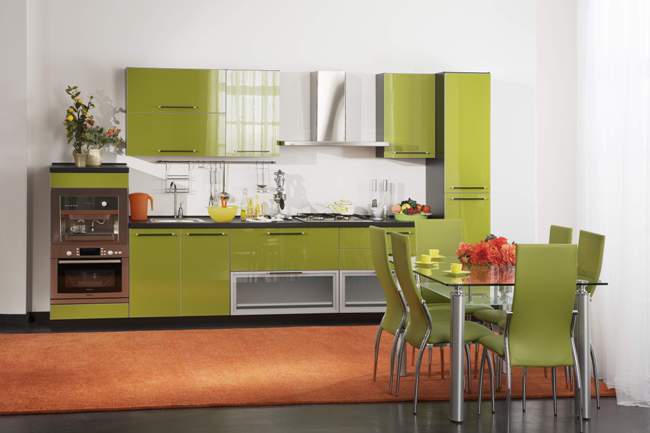
Plastic is still a popular material
Bar counter installation
Often, the countertop in the kitchen is used as a bar counter, on which, as a rule, they have breakfast, and, in fact, have dinner.
This requires a special mount, which will allow you to securely fix the product.
- In a furniture store, you should purchase a steel pipe with a diameter of 50 mm. It is better to ask that you cut it off immediately to size, then the edges will be even, without burrs.
- You will also need bar fixing elements. One will be attached to the table top, the second to the floor.
Note! If the width of the table is no more than 400 mm, then one leg is sufficient. If more than 400 mm, then purchase 2 sets.
Fastening the kitchen countertop as a bar counter is as follows:
- First of all, fasteners are fixed to the tabletop.

Bar legs attach at corners to ensure table stability
- Pipes are inserted into them and aligned.
- The lower fasteners are marked on the floor.
- The floor is drilled, if it is not wooden, and the fasteners are fixed with the help of dowel nails.
Features of the workflow
It may seem to you that it is quite easy to install a countertop, but, nevertheless, you should not be so frivolous about this issue.
Here are a few more recommendations and features of countertop fasteners:
- If you are installing the tabletop on furniture corners, you should do it like this: step back 1-2 mm from the top edge of the cabinet and mark the center of the corner. Then, fix the corner with a self-tapping screw. 4 corners are enough for one meter.
- For chipboard, be sure to use a kitchen sealant, otherwise after a few weeks of use, the plastic surface (near the sink) may swell.
- It is advisable to set the kitchen set according to the level. Try to avoid sagging wooden countertops.
- When choosing hardware, stop at stainless materials, this will help extend the life of the headset as a whole.
Article DIY kitchen countertop from tiles: step-by-step instructions also contains additional information.
Conclusion
Now you can surely be able to independently assemble the kitchen set and fix the countertop on it. If you want to look at the whole process and make sure that you understood everything correctly, then you can use the following video: how to fix the countertop in the kitchen. We hope that everything will work out for you.