Content
-
1 Basic advantages
- 1.1 List of positive qualities
- 1.2 Aesthetic possibilities
- 2 Basic types
-
3 Self-execution
- 3.1 General Provisions
- 3.2 Necessary materials
- 3.3 Preparation of chipboard parts
- 3.4 Assembly process from individual parts
- 4 Summarizing
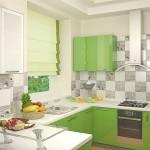
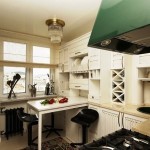
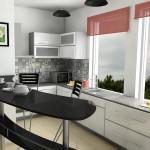
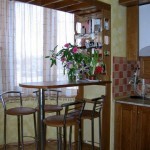
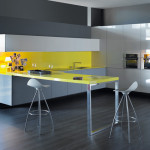
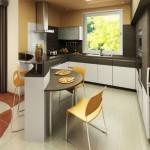
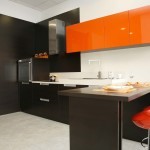
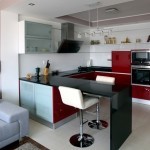
Nowadays, there is often a bar counter in the kitchen instead of a table, which gives the interior a stylish look. Such an element is usually included in the design to also increase the work area, while separating the living space from the dining room.
The popularity of such a solution is primarily due to its high functionality and design. By correctly fitting the design into the kitchen set, you can achieve an interesting effect.

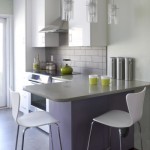
The location is flush with the kitchen worktop.
Basic advantages
The advantages of a bar counter over other surfaces are so many that you can endlessly list them. However, there are highlights that play an important role in everyday life. The price largely depends on the material chosen to create the structure.
List of positive qualities
- Requires little installation space and functions as a small table. In particular, a corner kitchen with such an element will be used much better than a regular dining area.
- With a large structure, an additional compartment appears for storing all kinds of utensils. A huge plus is the convenient fridge for a variety of snacks and drinks.
- It is always easier to have a snack here than at the dinner table, since there is no hint of a long and large meal. Abroad, these facilities are perceived as a place where you can have a snack and a little rest.
- In some situations, the rack separates one zone from another. This design idea was brought to life a few years ago when the need arose.
- Also, this interior detail has a lot of folding shelves and useful items.
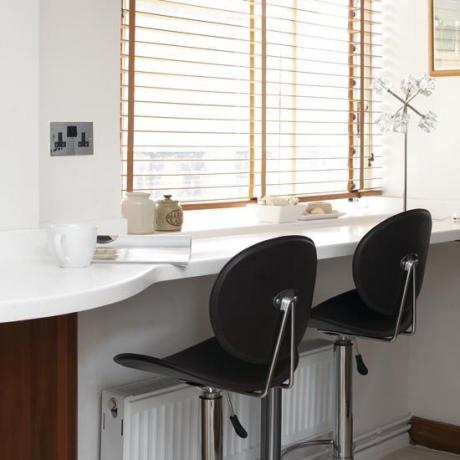
- In order to save free space, the chairs can be pushed in so that they do not interfere. This is achieved by placing the table top high from the bottom of the room.

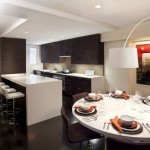
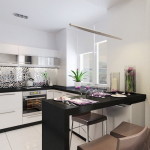
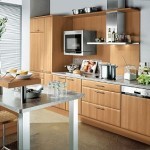
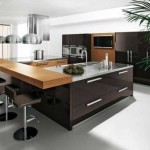
Convenient indoor placement.
Note! For people of the age category from 15 to 40 years old, these decor elements are ideal. As for the rest of the persons, certain difficulties may arise due to the high altitude.
Aesthetic possibilities
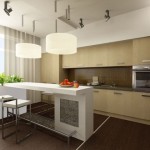
This piece of furniture always fits perfectly into the overall design of any home. Thanks to him, the internal space is organized, because visitors gather next to him.
Currently, in the design process, preference is usually given to new modern forms.
This kind of furniture is easily transformed and easy to use.
- When the bar comes out of the kitchen countertop, it is recommended that it be designed in the same style as the countertop.
- If it is necessary to divide the space not only into zones, but also into separate rooms, then it is best to select the structure.
- For small rooms, the option should not be considered when the fastening is carried out without vertical supports.
- If it is not supposed to cook or perform similar actions on the upper plane, then you can install it close to the wall.
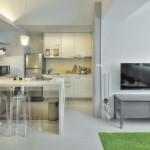
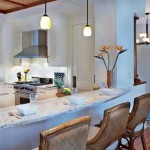
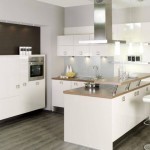
Note! A traditional table will not be able to separate the seating area from the cooking area so clearly. The high table top is actually a picturesque border between the two rooms.
Read here an article about a kitchen set with a bar counter.
Basic types
Modern racks are very often arranged according to a modular principle, thanks to which it is possible to create a lot of options that have different configurations.
In addition, it becomes possible to carry out assembly by hand and mount all kinds of equipment.
Depending on the location, there are:

Execution in the form of a semicircle.
- Linear designs, which differ from other types by the absence of turns. They are quite comfortable and at the same time allow the equipment to be placed underneath.
- Radius posts are made of several elements. Their advantage lies in elegance and grace. However, the rest of the furniture should be placed correctly.
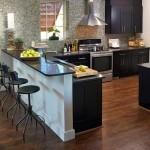
- Corner option is the most economical in terms of space saving. It is characterized by non-standard sizes and shapes.
Read also the article "Bar counter for a small kitchen: how to use all the space to the maximum."
Self-execution
By making such a design without the help of professionals, you can save an impressive amount. This instruction should to some extent help with the basic work.
First of all, you need to decide which option will be optimal. For example, it is quite possible to make a classic bar counter on special consoles.

Installation is carried out on their own.
General Provisions
- The average height is usually from 110 to 115 centimeters, which is why chairs of this type are found only high with a footrest.
- The upper module in most cases contains a functional system for storing glasses and wine glasses.
- The height in this case plays an important role, because on the working side there is often a whole cellar with various products.
- Equipping additional gadgets like a built-in bottle opening tool or a dedicated ice bucket compartment is a plus.
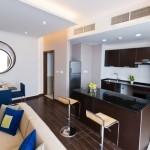
Note! A tall structure looks very bad in too small rooms, so in such situations it is better to make it in the form of a folding table extension.

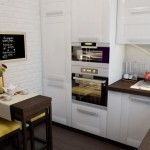
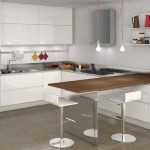
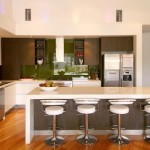
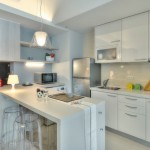
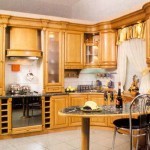
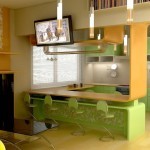
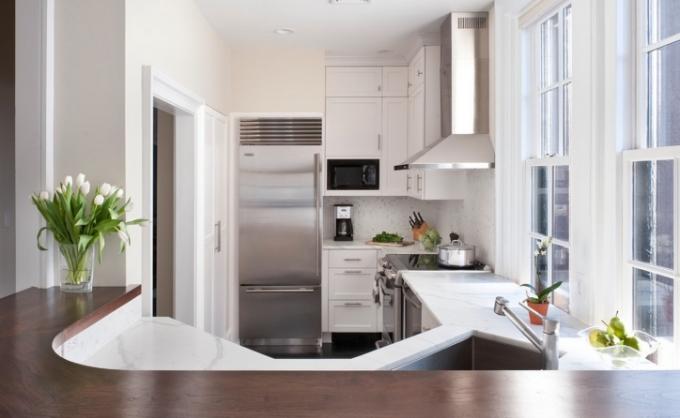
Light brown design in the photo.
Necessary materials
- Six sheets of chipboard 16x440x1150 mm.
- Two of the same sheets, but 2 meters long.
- Regular rake.
- Two cuts of a PVC sewer pipe: 95 and 45 centimeters. The long part will go to the support leg, and the short part will go to the luminaire body.
- A steel pipe with a diameter of 5 cm and a length of one meter.
- Special mounts resembling a cylindrical rod.
- Acrylic paints and varnishes and putty.
- Countersunk head screws and dowels.
- Lamp with wires.
Note! Reliable manufacturing assumes the presence of strong elements, therefore, the first thing the chipboard sheets are glued to each other. As a result, plates are formed having a thickness of 32 mm.
Preparation of chipboard parts
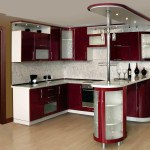
First of all, the main elements are cut out, of which the bar counter will consist. Thus, you will have to create many different shapes. Dimensions in millimeters are given in brackets.

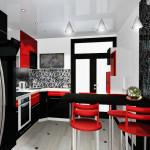
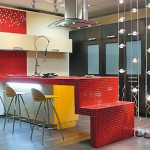
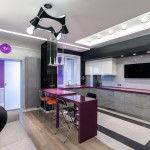
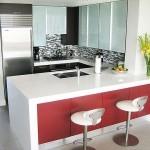
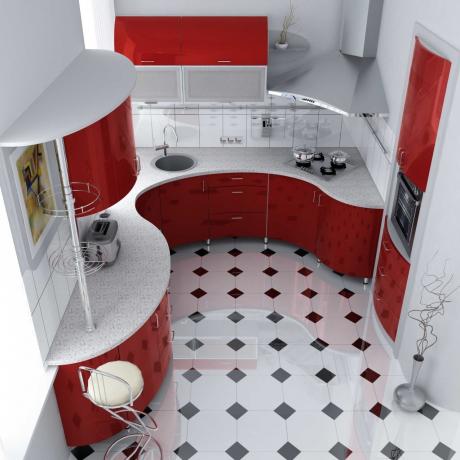
The design is dominated by red.
The elements |
Description |
Dimensions |
| A circle | A hole is made in the central part for wiring. | 175 |
| A circle | Floor option | 500 |
| Ring | Ceiling hood with outer and inner diameter | 300-180 |
| A circle | Support heel | 300 |
| Two rings | They act as a rim for the pipe from below. | 240-180 |
| Rectangle | Used as a wall between worktop and shelf. | 870×240 |
| Two rounded shelves | The slabs are rounded on one side. A hole is cut inside for a vertical pipe. | 32x440x1150 |
| Table top made of two slabs | In one of them, a cut is made so that, after gluing, a blind hole is obtained. | – |
Addition! All ends of the sawn parts are first cleaned and putty, and then sanded. Immediately before installation, round parts and PVC pipes are processed with paint and varnish products.
Assembly process from individual parts
- Installation work begins with a wall glued between the bottom shelf and the worktop itself. Fastening is carried out using elements in the form of cylindrical rods (dowels).
- Next, a pipe is taken, which is needed for the lamp body. 2 centimeters recede from the edge, after which six three-millimeter holes are made.
- The pipe is placed in a chipboard ring with a width of 30 mm and is fastened with screws through the holes made. On the other hand, a ceiling hood is put on. Thus, it is possible to make a housing for the lamp.
- The footrest is now installed. To do this, a hole is drilled at a distance of 20 cm from the edge of the pipe, which is often shown in the video.
- A circle with a diameter of 175 mm is fixed to the ceiling using screws and dowels. Wiring is lowered into it. The luminaire body is superimposed on top.

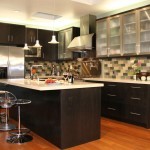
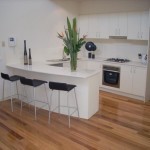
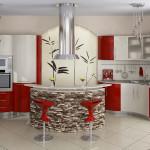
The bar is located separately.
- The top shelf is glued to the ring. A lamp is installed inside.
- Support rails are screwed to the rectangular ends of both shelves. They will help keep the structure upright.
- A supporting leg is installed in the thrust bearing, and a transverse pipe is inserted into it. The crossbar is fixed to the side of the room with a round sleeve.
- At the last stage, the lower and upper shelves are mounted, as well as the table top. Untreated elements are covered with some kind of compound.
Note! Depending on the chosen color scheme and imagination, this design will be able to turn a room into a tropical paradise or a calm island located within the city limits.
Summarizing
Of course, a bar counter instead of a table in the kitchen can be used by many owners, but for small children and the elderly, it creates certain problems.
Therefore, not everyone can replace the table with this design. However, this option is beginning to be considered much more often.
Kitchen interior with a bar counter - see here.