Content
- 1 What it is
-
2 What a photo panel can be
- 2.1 Kitchen features
- 2.2 Execution options
-
3 Glass photopanel in the kitchen working area
- 3.1 Preparation method
- 3.2 Fastening methods
- 4 Conclusion
What can a photopanel for a kitchen be made of? Where to place it so that the image is visible even with a small kitchen area? Is it possible to mount the panel yourself or will you have to use the services of specialists? Let's try to figure it out.

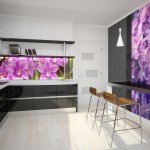
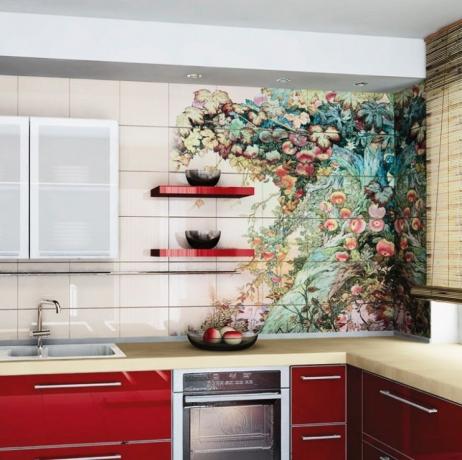
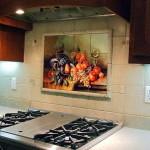
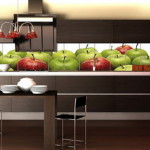
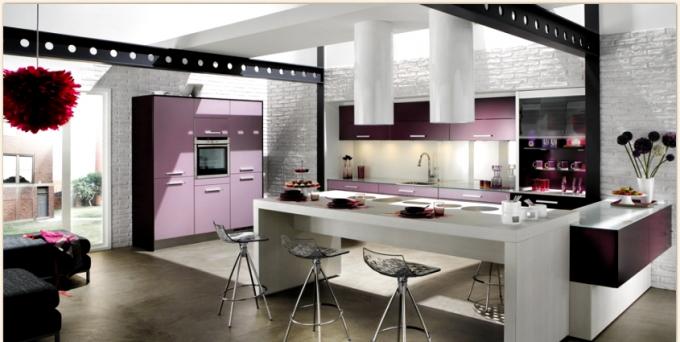
The photo shows an excellent example of a panel that organically fits into the design of the room. Unfortunately, this design is not suitable for a compact kitchen.
What it is
It is worth clarifying the subject of discussion. Panel is a word derived from the Latin pannus, meaning just a piece of cloth. In our time, this is the name of any image of a decorative nature.
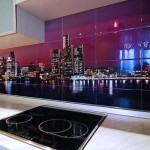
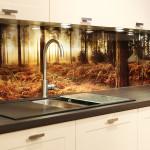
Photopanel - respectively, a decorative image, which is based on a photograph. The material can be a night city, a mountain range, the sky, flowers - in short, any picturesque view.
Tip: when choosing a picture, it is worth remembering the size of the kitchen. Images with large details (in particular, reproductions of many paintings, painted in gouache or oil) require perspective and, therefore, sufficient distance from the viewer.
What a photo panel can be
What influences the choice of material? First of all - the features of the room in which the panel is supposed to be placed.
Kitchen features
- High humidity. More precisely, fluctuations in humidity over a wide range. During cooking on two or three burners and after airing, the amount of water vapor in the air can differ significantly.
- Temperature fluctuations. Extreme cases - again, cooking dinner for a large family and a window open in winter. Near the slab, the delta temperatures may well reach 60-80 degrees.
- Close to the work surface - constant splashes. There is a splash of hot fat near the stove, which is VERY difficult to remove from porous surfaces.

Of course, you can try to protect the wall from splashing. However, it is more practical to choose the right material for the apron.
- In a small kitchen, when decorating walls, the durability of the image will be of decisive importance. For example, near the dining table in the Khrushchev (typically it is located close to the wall common with the room), paper murals will lose their original appearance in just a couple of months.
Execution options
If there are many options in the spacious dining room of a private house, then the modest dimensions of a city apartment do not leave much room for the designer's imagination.
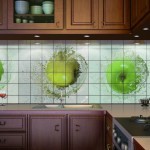
- Tiled photo panel above the dining table. Tile for kitchen more than durable. In addition, even leaning on the wall with all your weight, it cannot be crushed. Splashes are easily removed from the surface.
The only weak point of the tile is the seams, from which dirt can be removed with difficulty when using cement grout. However, no really heavy pollution is expected near the dining table.
- The same tile with a photographic image is often used to decorate the wall above the work surface, sink and stove. A tile apron is practical - in fact, we can see it in most apartments since Soviet times. However, near the slab, grouting begins to noticeably accumulate dirt over time.
However: epoxy-based grouting makes joints resistant to dirt and easy to clean. The main instructions for using epoxy resins are to completely remove all traces from the tile before the composition hardens. It is almost impossible to do this later.

Epoxy grout will retain its original appearance even near the slab.
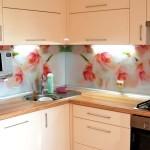
- A printed plexiglass apron is another popular option. Printing is done with permanent ink on the back of the glass. The advantage of this material is its flexibility. Glass apron for kitchen can repeat the unevenness of the wall and even be fixed in an arc, repeating the outlines of a curved wall in a custom kitchen.
Minus - plexiglass is easily scratched. In addition, you will have to completely forget about abrasive cleaners.
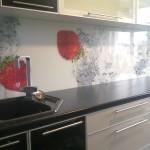
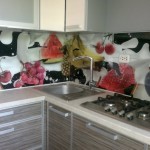
- Finally, ordinary glass - silicate and quartz, tempered and without tempering. A glass apron with a photo print, in the author's humble opinion, is the most practical version of a photo panel. We will discuss it in a separate section of the article.
Glass photopanel in the kitchen working area
Preparation method
For a small kitchen, a photopanel is usually ordered on one of the walls. The second is closed with an opaque glass apron or the same panel. Typical dimensions for most apartments are 2500x600 mm. The starting price without installation is about 5000 rubles.
In larger kitchens (often combined with one of the rooms), the photopanel will, of course, be larger. The picture will have to be split into several elements. The limitation is not even in the maximum dimensions of glass that can be made: a glass apron with a length of more than three meters simply cannot be brought into an apartment.
Read more article Photo aprons for the kitchen - unique and modern design.
The manufacturing method is the same as in the case of plexiglass. Solvent ink and photo printing on the back of the apron.
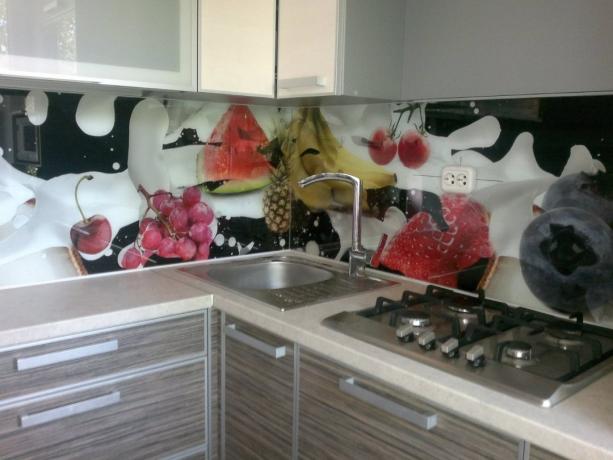
The front surface can be washed with any cleaning agent, including abrasive ones. The image on the back will not be affected.
Fastening methods
Since the material used for the glass backsplash is at least 5 millimeters thick glass, conventional mirror mounts will not be strong enough. It is also not worth glueing glass on a wall, even a flat one - the likelihood of damaging the drawing on the back is too high.
There are two main methods of fastening:
- A frame made of an aluminum or steel profile with a chrome finish is mounted on the wall to size with a photopanel. Glass is inserted into it from above and covered with an upper bar; then lockers are hung over it, if necessary.
- It is easy to find decorative mounts for massive glasses on sale, which fix them through pre-drilled holes.
The second option is preferable already because it does not require dismantling the lockers.
If you do the work yourself, you should consider a couple of nuances:
- Drill the glass with a special drill on the tile, placing it face up on a flat and solid surface. Drill at low speeds while wetting the drill: this little trick will prevent the glass from overheating and breaking due to uneven expansion.
- Do not forget about the plastic inserts between the screws and the glass. Without them, there is a great risk of chipping off the corners at the attachment stage.

A plastic liner will protect the edges of the hole from chipping.
- Do not press the glass against the wall. As soon as it stops moving when touched, your work is finished. It is dangerous to tighten the fasteners further.
Conclusion
Several interesting options for kitchen photo panels can be found in the video attached to the article. Hopefully, you will get new ideas for your kitchen design. Good luck in the repair!


