Content
- 1 Features of a suspended ceiling
-
2 Start workflow - preparation
- 2.1 Materials
- 2.2 Tools
- 3 Installation of battens
-
4 Plasterboard installation
- 4.1 Expert advice
- 5 Conclusion
At the moment, suspended ceilings are the most demanded service provided in the construction market. It is these structures that are easy to fit into any interior, install in a room with high humidity and do it yourself.
Yes, yes, the hinged system is easily installed by non-professional craftsmen - apartment owners who want to save money on repairs.

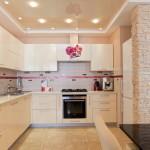
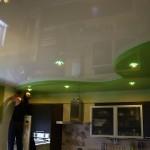
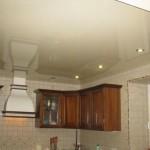
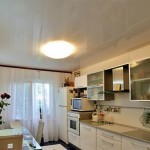
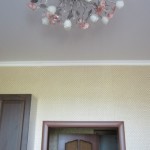
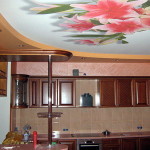
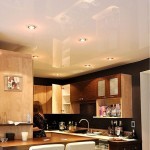
Drywall takes any shape with careful finishing
Note! Suspended ceilings are called stretch and suspended structures. We will consider one of the most popular ceilings nowadays - plasterboard.
Features of a suspended ceiling
What are the advantages of this design over other types of ceilings?
Indeed, on the market for construction services, there is a huge variety of different materials that are perfectly suitable for finishing the ceiling.
- Low price. An aspect that attracts the attention of everyone who wants to make repairs, while keeping within a limited budget.
- Reliability. The plasterboard ceiling does not rot or rust, all materials are resistant to external influences of temperature and humidity.
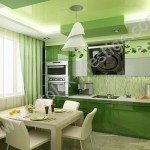
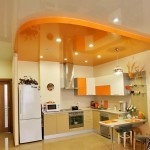
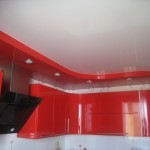
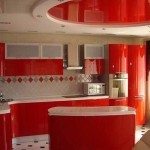
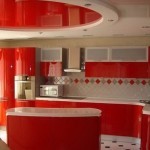
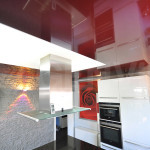
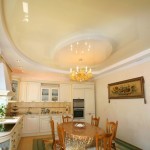
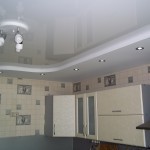
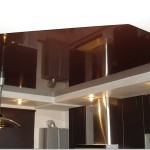
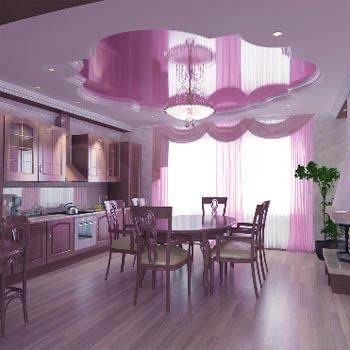
- Practicality. The hinged structure can be of any shape, color and size. You can even make two or three-level ceilings using a mix of different materials.
- No preparatory work required. Forget about leveling ceilings with three coats of putty, primer and plaster.
- Simple installation. You don't need to be an experienced builder or work as a finisher for several years to build a suspended ceiling. What you need is our instructions, described below, which will help you carry out the repair yourself.
Note! Another plus of such ceilings is the ability to hide all engineering communications, protecting yourself from ventilation pipes and other systems. Just try to isolate all electrical wires from accidental leaks.
Read also an article about a two-level ceiling in the kitchen.
Start workflow - preparation
As we said earlier, you save time on preparing your work surface. Now it remains to purchase the necessary materials and tools that will be needed for installation.
Materials
- Drywall sheets. Calculated in square meters, for this you should measure the ceiling area.
- Metallic profile. You will need two types: a guide - mounted on the walls around the perimeter of the room, frame - is the base for fastening drywall.
- Hangers. It is on them that the profile is attached. If you have never encountered them, then you can see how they look in the photo.

Suspension with multiple holes for height adjustment
- Self-tapping screws and dowel nails. It is best to purchase galvanized screws that are moisture resistant.
- Primer and putty for surface preparation for finishing.
- Decoration Materials: paint, plaster, wallpaper.
Tools
- Drill or hammer drill. It all depends on what kind of walls and floors are in the house.
- Screwdriver.
- Hacksaw for metal.
- Electric jigsaw.
- Building level.
- Twine.
- Roller or brush.
- Putty knife.
- Roulette.
Note! It is best to purchase a laser level, it is easy to use, and it is easier to measure the plane than by pulling a rope from one corner of the room to another.
Installation of battens
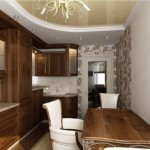
In order for the suspended ceiling in the kitchen to please you with its appearance for a long time, you should carefully consider the stage of installing the metal profile.
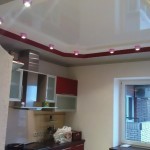
- First of all, the guide profile is mounted on the walls with the necessary indent from the ceiling. Usually it takes 5-6 cm to install a hinged structure, with lamps the indent is 7-8 cm. If you have more cumbersome communications, then you should be guided by them.

The guide profile is mounted on the skirting dowels
- After that, the ceiling is marked for awnings. The fastening step should be observed 60x60 cm That is, your ceiling should look like a field of many equal cells.

In the center of the room, the cells are equilateral, near the walls the size does not matter, the main thing is not more than 60 cm
- When the hangers are installed, the main profile is cut and fastened with self-tapping screws. This is where the level comes in. If, nevertheless, it was not possible to take the laser, then pull the twine from one edge to the other.

The frame profile is inserted into the guide, thereby fixing one edge
Attention! The lathing can be built from wooden blocks, it is much cheaper. However, wood cannot be called a durable material, unless you buy a high-quality antiseptic.
Read also the article on false ceiling in the kitchen.
Plasterboard installation
Now we proceed to the direct facing of the metal frame.
For this stage, it is better to find yourself an assistant, since solid sheets of drywall are quite problematic to fix the canopy alone.
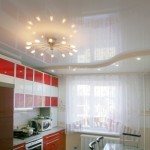
- Installation begins from the window.
- The sheets are fixed to the profile with self-tapping screws every 15-25 cm. Be sure to sink the head of the screw so that you can seal the hole with putty.
- There should not be a distance of even a few millimeters between the sheets, it must be fastened end-to-end.
- As for cutting the material, it is not at all scary if the suspended ceilings in the kitchen are assembled from small pieces. All joints are sealed with putty.
As you can see, it is quite easy to install a suspended structure with your own hands, the main thing is to follow the sequence of the working process.
Expert advice
- Do not screw in the screws at an angle.
- Installation should not be carried out at temperatures below 10 degrees.
- For the kitchen, it is better to use moisture-resistant drywall, which is highly resistant to moisture.
- For the best effect, the surface should be primed before and after applying the putty.
- Do not forget about safety - goggles and a mask are essential for working with drywall.
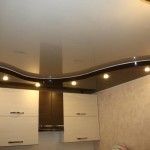
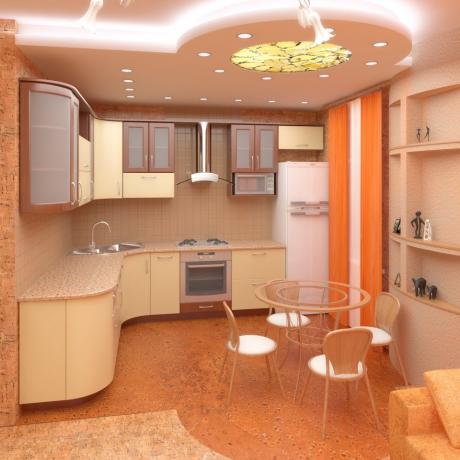
- If it is necessary to install a multi-level structure, pay special attention to the ceiling frame - the load will be increased.

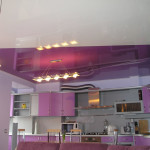
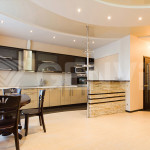
Multilevel false ceiling construction
Conclusion
Now you know all the features of the installation process, a suspended ceiling is an open book for you. But if you still have questions, then additional information can be found in the video: suspended ceilings in the kitchen.
We tried to find the most useful video for you, with an explanation of all the stages of installation.
Repair of the ceiling in the kitchen - see here.
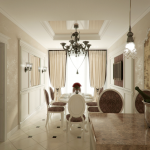
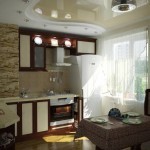
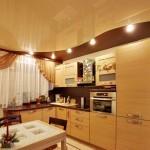
Gallery