Content
- 1 What a canopy looks like
- 2 Mount advantage
-
3 Installation work
- 3.1 Purchase tool
- 3.2 Preparatory work
- 3.3 Installation of awnings
- 3.4 Metal rail fasteners
- 4 Conclusion
There have always been problems with hanging kitchen cabinets. In particular, this concerned the horizontal level, which was difficult to sustain using conventional hinged hinges. But more recently, a solution has appeared that can save us from all the existing problems with hanging cabinets - adjustable awnings.
A simple and at the same time effective method will facilitate the installation process.

Agree that the modern mount looks much nicer and neater
What a canopy looks like
The hanger for kitchen cabinets is a small plastic (metal) box with several holes:
- Two through for fixing the awning with screws to the side of the cabinet.
- Two adjusting screws with large screws. Screwing in and unscrewing these bolts allows you to lower-raise and press-move the cabinet away from the wall.
There is also a metal paw that clings to a mounting rail attached to the wall through a self-tapping dowel.
In the photo you can see how the structure looks like as a whole and separately.
 plastic awnings and metal rail")
Universal (on both sides) plastic awnings and metal rail

Sectional canopy: as you can see, one bolt attracts the paw, the second "fetters" its movements
Mount advantage
- The ability to install cabinets without helpers. All work is carried out in two stages: installing a metal strip on the wall and hinging a module on it. You do not need to touch the screws in the wall to get a loop on the head.
- Possibility to adjust any position of the cabinet, an error of 15 mm is allowed on each side. At the same time, you do not need to support or remove the module, the entire adjustment process is carried out on the canopy.

It all depends on the reliable fastening of the rail, the plastic adjustable canopy is a way to withstand a load of up to 30 kg
- Hanging kitchen cabinet becomes more reliable. The fastening allows you to fix a single fastening strip on the wall, which even if 2-3 screws are loosened, the rest will hold the structure.
- Hanging kitchen cabinet can be installed directly on wall on kitchen apron. This is possible due to the retractable mounting leg, which allows the module to be hung with a distance of 2-2.5 cm from the wall.
Note!
Even an inexperienced specialist will do all the work with his own hands in a few hours.
The only disadvantage is the price, which is insignificantly, but higher than the usual metal plates. But really, you should forget about the savings when there are so many benefits.
Installation work
In order to eradicate all doubts about the merits of installing wall cabinets on adjustable mounts, we suggest that you study this section. It will include four stages, which are described sequentially.
Purchase tool
- Drill or hammer drill. It all depends on which wall you have.
- Screwdriver or screwdriver. It is better to use a power tool, which will speed up the workflow.
- Hacksaw for metal.
- Building level.
- Roulette.
Note!
The screwdriver can be easily replaced with a drill with a cross head, but it is better to have a screwdriver with you to adjust the awnings with it.
High RPM can rip off the adjusting bolt and render the awning unusable.
Preparatory work
Before hanging the kitchen cabinet, the following work must be done:
- If you've just finished renovating and installing the kitchen, then the most important thing is to make sure the walls are strong. This is perhaps the most important thing.
If you have plasterboard walls, then be sure to fix a wooden bar under the front surface. Otherwise, use as many butterfly dowels as possible. - It is not particularly necessary to align, it is better to pay special attention to the corner of the kitchen (if the kitchen is corner). It should be laid out thoroughly so that the corner cabinet hangs without unnecessary gaps.
- Prepare all the wiring in advance so that later you do not have to remove the module twice.
Advice!
For cabinets with built-in kitchen hood or just a separate hood, pass the socket to the ceiling. It's more practical and safer, no extra wires above the work surface.
Installation of awnings
The suspension of kitchen cabinets is installed quite easily, without any intricacies and features.
The process can be carried out in two ways:
- If the back wall of the DVPO, then in the upper corners it is necessary to cut out small holes into which the fastening legs will pass. Then, pressing the hanger to the top shelf of the cabinet, screw it with two self-tapping screws to the sidewall.

Study this picture, and you will immediately understand everything.
- If the back wall is chipboard, then it is necessary to make a cutout directly under the canopy, thereby fixing it flush with the laminate.
Note!
But since suspended kitchen cabinets with chipboard back walls are rare, the second method is practically not used.
Metal rail fasteners
To do this, you need to make the following calculations:
- Fold into one whole the height of the lower pedestals, the distance between the hinged and floor-standing kitchen cabinets and the height of the top module. For example, 920 mm base + 600 mm apron + 600 mm top module.
- Now, from the amount received, it takes 45 mm to shrink the canopy and we get the size that must be noted on the wall.
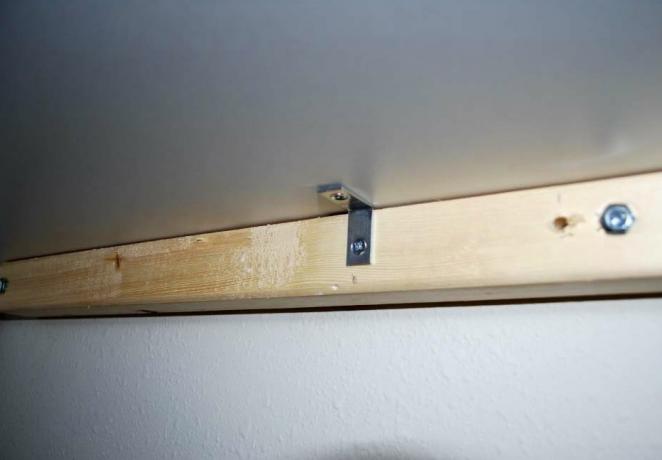
- Draw a line according to the level and apply a metal bar. There are holes in it every 1.5-2 cm, you do not need to drill so much, it is enough to place the screws at the corners of the wall cabinets.

This is what a rail mounted on the wall looks like.
Important!
Just before hanging the kitchen cabinets, loosen the mounting tab so that it moves freely up and down. This will make the adjustment easier for you.
Conclusion
Now you just have to lift the module and lower it onto the rail. Further - a matter of technology, adjust and fix all the lockers among themselves with intersection ties. The main thing is to make sure that both fasteners hang on the bar, otherwise there is a high probability that the cabinet will fall off.
In addition to the article, there is a video: hanging cabinets for the kitchen, this is, so to speak, a visual instruction for the step-by-step process of hanging.