Content
-
1 Waiting does not mean idleness
- 1.1 They're coming, they're taking
- 1.2 We expose the first
- 1.3 The second went
- 2 Finally
The desire to save money on the purchase of any expensive thing is quite reasonable and justified, especially since this can be done when ordering a kitchen set. Manufacturing firms offer the services of their craftsmen, who, to their credit, know their business and for a certain fee (which is hammered into the cost of the headset) is fine, for half a day you install.
And they take not a very large percentage, but even those, at first glance, small percentage, when recalculated for understandable monetary units, make you think about the question, and not whether it will be cheaper to assemble a kitchen set with your own hands.
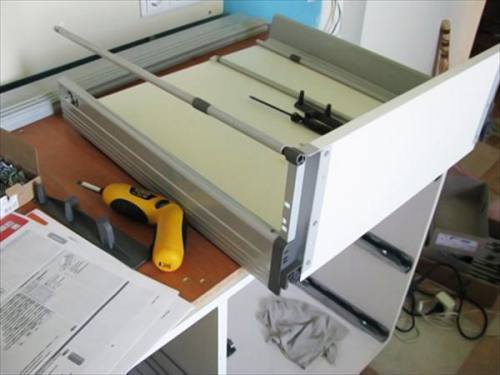
Editing is not so terrible as it is painted.
And cheaper and, by and large, will come out for you no worse. Modern fasteners and support elements have the ability to adjust the height and direction of products, and a set of tools that are used by craftsmen is in almost every family. Well, as a last resort, you can ask your friends or neighbors.
Waiting does not mean idleness
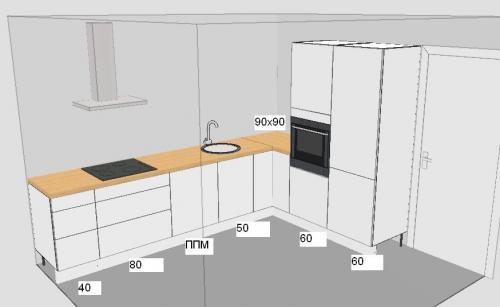
The scheme is digital specifics.
From the moment of ordering to the moment of installation, you have time, which is highly desirable to spend with benefit, and prepare your kitchen to meet new "inhabitants". The fact is that although the new fasteners have a greater leveling resource than the old hinges, they also have the possibilities are not endless, but to level the cabinet on the floor when one leg is visually shorter than the other is not very aesthetically pleasing.
Therefore, following our advice, we are preparing:
- Ideally flat surfaces of walls and floors, if possible. Of course, changes in the horizontal floor level of a few millimeters will not be so noticeable to the eye, and the legs of the floor pedestals will calmly cope with the leveling task. The base will perfectly cover the product from below, and all questions will disappear by themselves. Otherwise, the floors must be leveled. The same applies to walls - even walls are the key to success.
Note! Recently, L-shaped headsets have been very popular, and when kitchens allow headsets in one line, right next to one of the walls. But at the same time, there is one pitfall that spoiled the appearance of more than one kitchen set.
This is not a 90 degree angle (the causes of defects are different, but the appearance is always sloppy). If it is impossible to align the angle at approximately 90 degrees, we recommend that you abandon the corner structures of the headset, or plan it in a different place. You have at least three corners to snap to.
- The walls must be completely prepared: either the wallpaper is glued, or the walls are painted, or the tiles are already hanging. Wall cabinets are the final stage of kitchen work, not an intermediate one.
- The condition of the wiring. This subclause assumes that all power supply wiring must be completed prior to installation. If the hood has not yet been installed, then the socket for it is already installed, as well as for other household appliances.
After the end of the entire cycle of installation work, dismantling kitchen cabinets to pull the electrical wire will be very troublesome and problematic.
- Condition of plumbing. The installation of a modern kitchen set involves the construction of a monolithic structure of cabinets and pedestals, interconnected by special intersection ties, under one tabletop.
Therefore, all plumbing work will be fraught with difficulties associated with limited space for access to equipment. In this case, it is recommended to replace or install taps on pipes with hot and cold water, revise drain pipes and, if necessary, replace them.
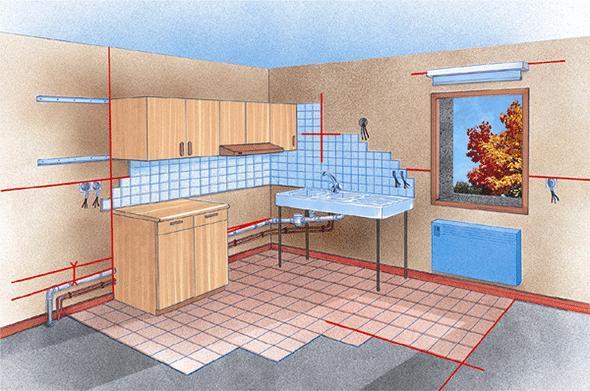
It is better that everything is new.
- And a separate line about the kitchen apron. Very often questions arise when it is better to do it before, during or after installing the headset. Consider the options that may be:
- The apron is already there and it suits you perfectly. In this case, when ordering furniture, you indicate the distance from the floor to the top surface of the countertop, which should be slightly below or close to the bottom edge of the tile. At the same time, a small gap is beautifully covered with a decorative plastic corner;
- There is no apron, or the one you have does not suit you at all. In this case, the old one is carefully removed with a perforator, and the new one is laid taking into account the height from the floor to the table top, which will be prescribed in the order.
If you do not have time to install the apron before the delivery of the headset, there is no particular crime here. It is allowed to install this small architectural form after the installation of cabinets.
However, when installing the headset, it is necessary to calculate when erecting the structure of the second floor the distance from the countertop to the bottom of the hinged furniture, taking into account the height of the tiles, the number of rows and inter-row indents.
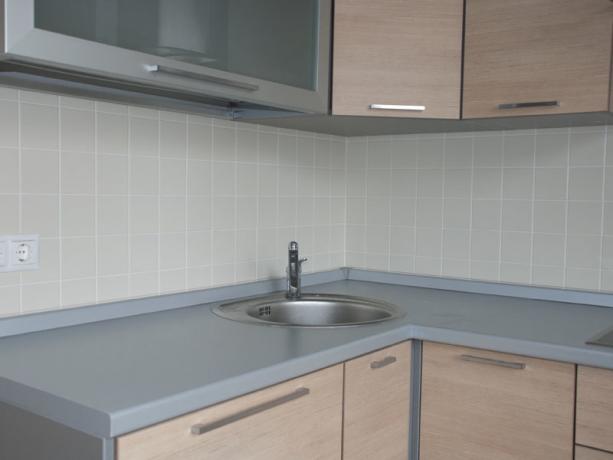
And the apron, and the outlet, and the decorative corner - all according to the text.
Note! Even if during the installation process you moved below the set limit, or raised the level a little more than the calculated one, then the adjustment of the legs and the decorative corner will close these miscalculations.
They're coming, they're taking
And we are fully armed.
The delivery of a kitchen set, as well as everything large-sized, is of course an event that not only households go out to gaze at. And let them watch. The headset has arrived, unpacked and ready to be assembled.
The assembly of kitchen sets usually starts, as does the construction from the first floor. If you refuse the services of masters, the instructions for assembling the kitchen set should be included with the furniture.
There is a diagram of how to assemble a kitchen set, step by step and sensible. You just have to assemble the tool, and, listening to our advice, to assemble (see also the article about installation of a kitchen unit).
So let's get started:
- We are assembling a hammer drill for brick and concrete walls, since an ordinary drill, and even more so a screwdriver, will be powerless here.
- A screwdriver with nozzles - it is suitable for drilling holes in the walls of wooden log cabins and adobe houses, as well as for screwing screws and drilling holes in the MDF body of the headset. And in case of an unexpected battery failure, a curly screwdriver and a hammer.
- Levels, meters and markers.
- A jigsaw will not be superfluous when preparing a hole in the countertop for a sink. And if you don't have it, you can rent it.
- Clamps are devices for temporary tight fastening of products to each other (like a vice), which may also be absent on the farm. Nevertheless, if you like to craft, then it is better to purchase them, and their price is low.
We expose the first
And the question immediately arises of how to properly assemble a kitchen set, there are a lot of spare parts, there is little experience.
In this case, apply the following sequence of actions:
- The assembly diagram of the kitchen set should be constantly in front of your eyes. The explanation is very simple, you check each step according to the instructions;
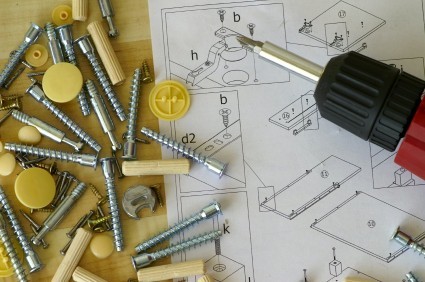
The diagram is always at hand - the golden rule of assembly. A very revealing photo.
- If your floors are flat enough, then the choice of the element from which you start the assembly does not really matter. Otherwise, determine the highest point of your kitchen, the type of cabinet that should be there and start the installation from it;
- Select all the constituent parts of the first-born pedestal indicated in the diagram, as well as all the connectors in the indicated quantities and following the indicated order, assemble the pedestal box;
- Install the pedestal box in its stationary place, while there should be no loose and skewed parts, and the correctness of the assembly of the structure can be determined by measuring the diagonal distances of the front and rear plane;
- Level the curbstone with a level on a stationary place and only then can partitions and other movable internal elements be inserted;
- In the same way, we install all the pedestals on the first floor, leveling them in one plane with a level, for hoisting the table top;
Note! It is more convenient to make a hole in the countertop for the sink when the countertop is on the pedestals. You will immediately be able to imagine the appearance of the countertop and sink and correct this position already in place.
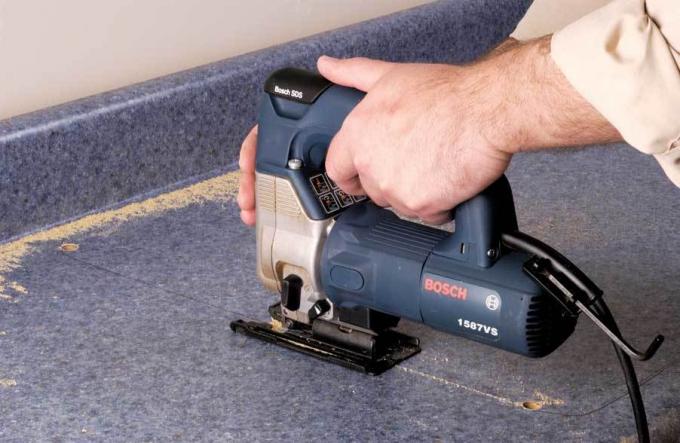
And here only a jigsaw - a jigsaw.
- And after all this, you hang the facades.
The second went
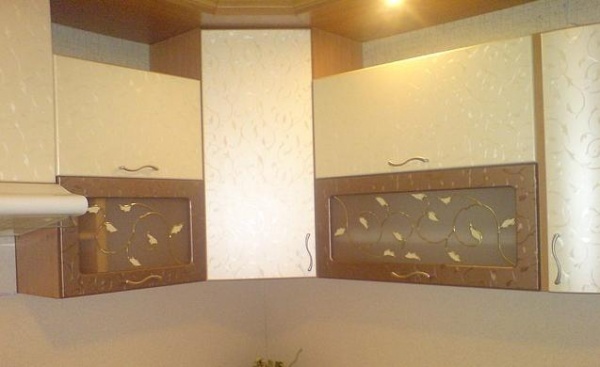
How we will hang, we must decide in advance.
The order of assembling a kitchen set on the second tier is not much different from the first. The main difference will still be the fixing of the boxes to the wall.
And here it is necessary to take into account the initial configuration of the cabinet construction:
- Or in one line;
- Or at different levels.
With the first option, it is easier to assemble a kitchen set with your own hands, since you need to attach one fixing rail-bus, and in the second it is necessary to calculate the location of the fragments of this rail and fix them for each locker separately.
So, how to assemble a kitchen set yourself on the second tier:
- Calculate the level of fixing cabinets on the wall;
- Using an adequate tool, drill holes for the dowels and install the mounting rail;
- Assembling the lockers is similar to assembling the sideboards on the first floor, while you can start from any locker;
- Hang the cabinets on the prepared bus, level them;
- Hang the facades.
Finally
How to assemble a kitchen set yourself - believing in yourself (Learn how to make do-it-yourself kitchen set). This process is exciting, like any construction in childhood, and here it is also for the benefit of the family. And don't forget to watch the video, it will cheer you up too.
