Content
-
1 What is needed to make furniture
- 1.1 Materials from which we will make a headset
- 1.2 Set of tools
-
2 Furniture manufacturing
- 2.1 Design and preparatory work
- 2.2 Cutting and assembly
- 3 Outcome
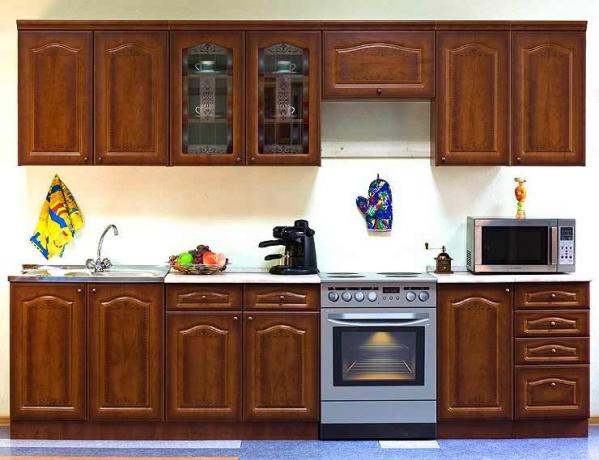
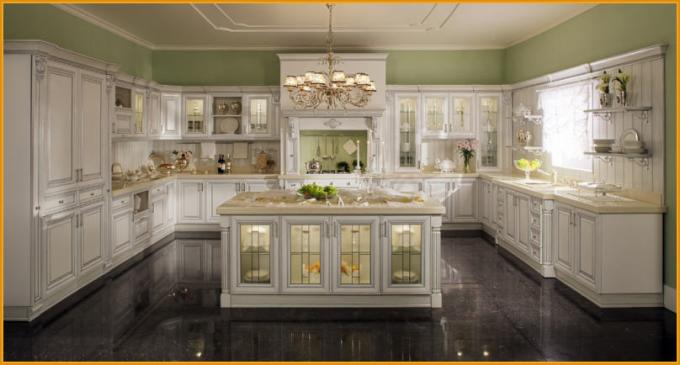
It would seem that today there are enough models of kitchen furniture on the market to satisfy the most demanding customer. And yet, many people prefer to design and assemble furniture on their own, since if made, for example, a corner kitchen set with your own hands - then you can get a truly unique model.
In addition, you should not forget about the economic aspect, because self-made furniture will cost you much less!
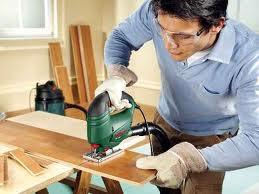
Self-made furniture is quite capable of almost everyone
What is needed to make furniture
Materials from which we will make a headset
Despite the seeming complexity of the task, almost everyone can learn how to make kitchen sets with their own hands. Moreover, having mastered this skill, you can not only complete your apartment, but also get an additional source of income - after all, designer furniture is always in price.
For the manufacture of kitchen sets, we need a variety of materials. By and large, they make up the bulk of the cost of kitchen furniture. Moreover, if you choose really high-quality wood (after all, you will not make a kitchen set from drywall with your own hands!) - then the cost will not turn out small, but it will still be less than with a factory manufacturing.
So what can you make furniture out of?
- Natural wood (array) - one of the most expensive materials. The most expensive are oak, cedar, and exotic species such as wenge or mahogany. Made of natural wood kitchen countertops and doors for kitchen cabinets - i.e. those parts of the headset that are constantly visible.
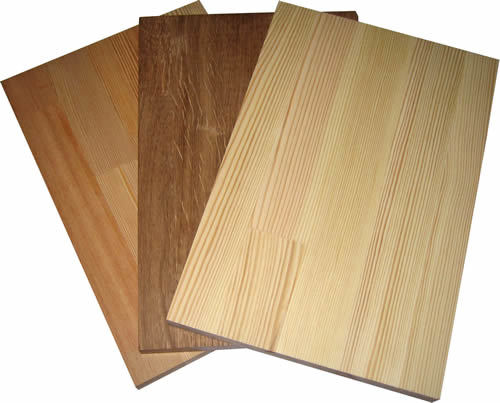
Solid wood blanks
- It is very important to choose quality wood.. Boards and glued boards, from which our set will be made, must be even, intact, and most importantly - qualitatively dried. The optimum moisture content of wood is 6 to 10%.
- For the manufacture of housings of the upper and lower modules, you can use laminated chipboard (chipboard), since its price is much more affordable. It has quite good mechanical properties and is easy to process.
- MDF panels are most often used for kitchen facades and countertops. In this case, a laminating film is applied over the base on MDF. Lamination of MDF is carried out exclusively in the factory, and on our own we can paste over the base with sheet plastic.
These materials are used to make all the basic elements.
In addition to them, we need:
- Edges for finishing the ends of parts after sawing - plastic or aluminum.
- Fittings (hinges, handles, door closers, etc.)
- Fasteners (self-tapping screws, Euro screws, staples, nails).
- Paints and varnishes for furniture surfaces.
Set of tools
Professional production of kitchen sets requires no less serious tools. But if you just want to assemble furniture for your apartment, then you can do without expensive machines - especially since some services, such as chipboard cutting, can be ordered from third-party organizations.
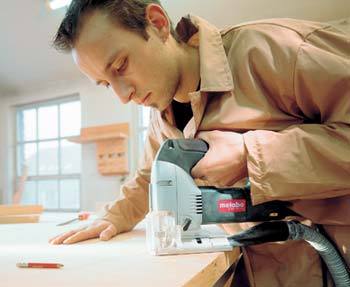
Using a jigsaw
For work we need:
- Saws. As a minimum, a hacksaw for wood and a circular or reciprocating saw with the appropriate attachments. For more accurate work, you can additionally purchase a jigsaw.
- Drill and screwdriver, as well as drills of various diameters for wood and metal.
- Planer and milling cutter for end machining.
- Sander for easy polishing of large areas.
- A set of hand tools - hammers, pliers, chisels, chisels, etc.
- Hexagon key for working with Euro screws.
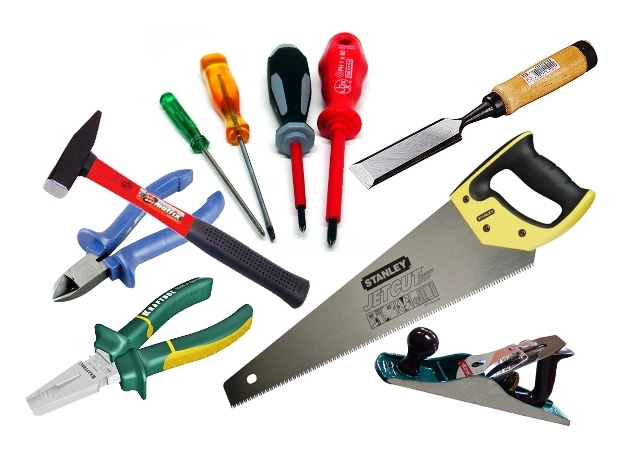
Hand tool
In addition, we cannot do without a tape measure and a level: with their help we will not only design our future kitchen, but also control the quality of each operation.
The same tools will be useful to you in the future, when you, perhaps over time, will repair the kitchen set with your own hands.
Furniture manufacturing
Design and preparatory work
Making a kitchen set with your own hands begins with the development of a project:
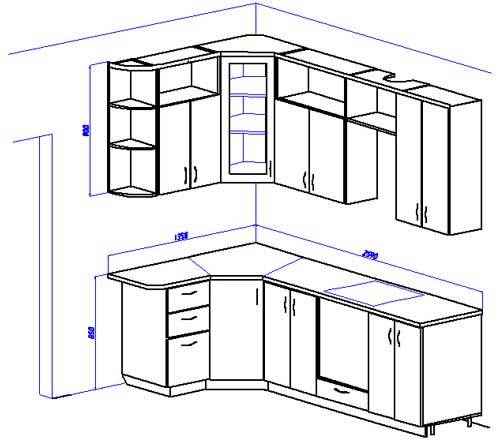
Kitchen set project
- The very first stage of all our work is measuring the room and determining the dimensions of the headset.
- After the dimensions are determined, we begin to plan the complete set of our kitchen, i.e. we put the main elements on the plan - cabinets, tabletops, shelves, wall cabinets, etc.
Note!
The use of special programs for the development of interior design greatly simplifies this stage.
- When the equipment is determined, we begin to specify the dimensions of each individual element, taking into account the accepted standards in the kitchen setting.
- All dimensions are applied to the drawing or entered into the appropriate field of the computer program.
The dimensions obtained will form the basis of our furniture.
Cutting and assembly
The next stage is the transfer of dimensions from the computer screen or drawing pages to the material from which the kitchen will be made.
The easiest way to do it this way:
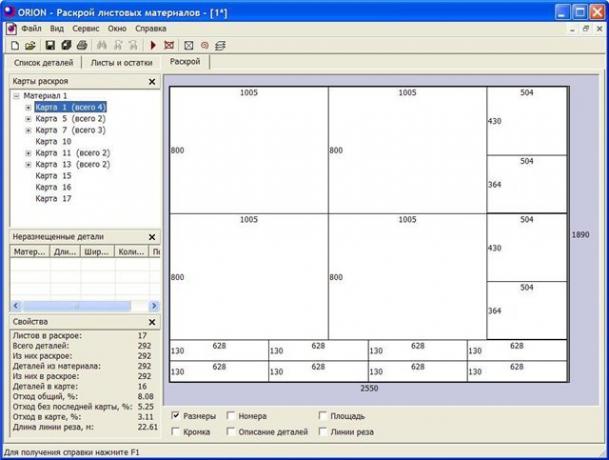
Cutting chipboard for kitchen modules
- Using the program for cutting chipboard, we enter into it the dimensions of the panels we need. The software automatically calculates the arrangement of panels on a large slab, minimizing waste.
- With the cutting scheme, we contact a company that sells and cuts chipboard. You can, of course, cut the necessary panels yourself - but without special equipment it is very difficult to do this, and the quality of the surfaces will be poor.
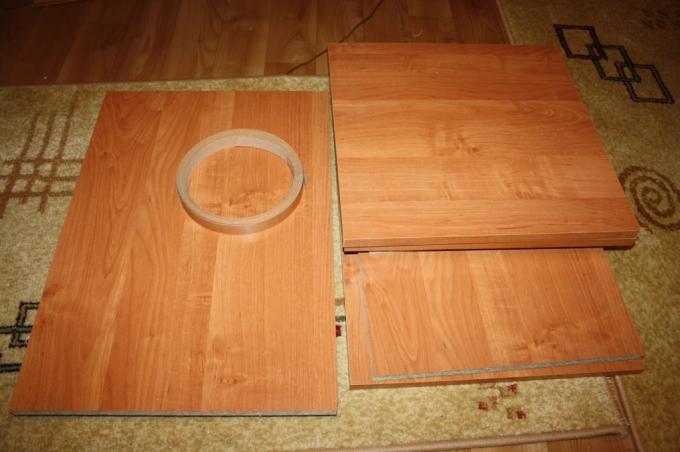
Elements for assembly
Advice!
It is better to order worktops and facades separately, since their manufacture is rather difficult and requires separate skills.
However. If you are not afraid of difficulties, there are video tutorials on our portal that clearly demonstrate these technologies.
After we have received the elements we need, we start assembling our headset.
The assembly instructions are as follows:
- First, we glue the ends of the parts with a plastic edge. In the factory, edging is done on a machine, but we can use an iron by pressing the edge against the panel through a strip of clean paper.
- When the edges are fixed, we begin to collect kitchen furniture modules. Having connected the adjacent parts with each other with clamps, we drill the mounting holes and tighten the Euro screws in them.
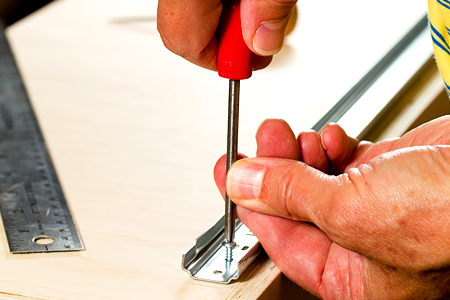
Attaching the guides
Advice!
It is better to install the slides for the drawers before starting the assembly - this is much more convenient!
- If necessary, we control the rectangularity of the assembled cabinets, checking the equality of the diagonals.
- We attach a sheet of fiberboard or plywood to the back wall, fixing it with a construction stapler.
- We install fasteners inside the kitchen modules, on which we lay the shelves. It is also possible to rigidly fix the shelves - in this case we fix them using the same Euro screws, twisting them from the outside.
- In the facades, we make special nests with a Forstner drill, install the hinge cups in them and hang the doors on the kitchen module.
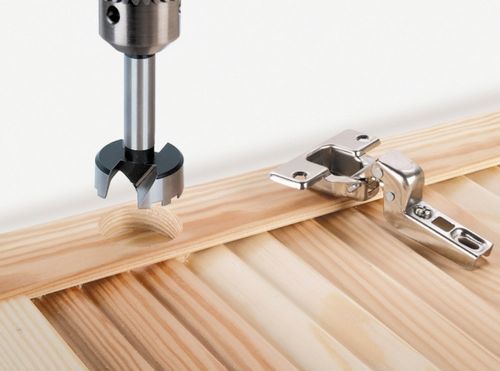
Photo of a drill for installing hinges
Note!
If we plan to make a kitchen with enameled or painted facades, then painting the kitchen unit with our own hands is carried out before the final assembly of all elements.
- We attach the legs to the lower pedestals, and hangers for wall mounting to the upper drawers.
Our kitchen set is fully assembled. It remains only to put the lower part in place, fix the countertop on it and hang the upper cabinets on the places chosen for them on the wall.
Outcome
Of course, making a high-quality kitchen set with your own hands is not an easy task. But if you still master the necessary skills, then we are sure that they will be useful to you more than once, and not only in the kitchen!
Gallery
