Content
-
1 Installation of a flush sink
- 1.1 Basic procedure
- 1.2 Additional recommendations
-
2 Installing an overhead sink
- 2.1 Preparatory work
- 2.2 Basic fastening methods
- 2.3 Completion of installation work
- 3 Finally
Most owners try to learn how to install a sink in the kitchen without the help of professionals. Carrying out an independent installation, it becomes possible to save a rather large sum of money.
However, before work, the capabilities of the entire room should be analyzed. The installation option will largely depend on its size.

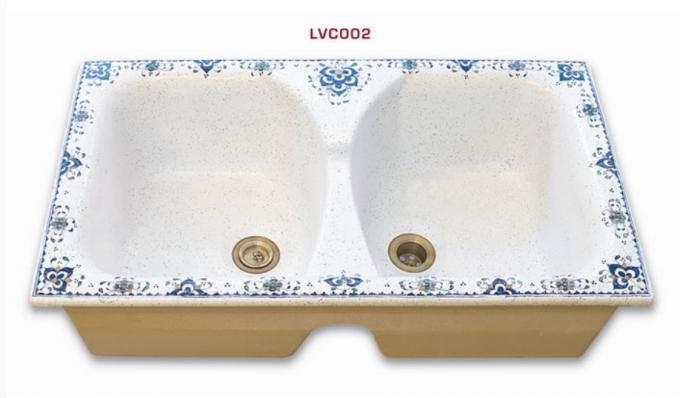
Corner version of the cut-in sink for the kitchen.
Installation of a flush sink
This type of products is popular with our population, as they are easily mounted in kitchen countertop any thickness. Moreover, the upper part can be made of any material. The dimensions of the cabinet do not really matter, which cannot be said about overhead sinks.
Possible flaws are associated only with poor-quality work or insufficient sealing of the joints.
Basic procedure
In any case, to ensure quality work, it will be necessary to apply the correct markings. The central part of the sink is determined, after which it is displayed on the surface
kitchen countertops. Accuracy is usually checked by measuring the height of the trim.Now about everything in order.
- The product is supplied in a special cardboard box, which is also a template for cutting. Therefore, the first step is to separate the stencil from the rest.
- The template is placed on the surface parallel to the two sides. At the same time, other furniture elements should not interfere. The sample is fixed to the tabletop with masking tape and outlined with a simple pencil, as shown in the video.
- The opening will be cut with an electric jigsaw, but you will first have to make a hole for the tool to penetrate inside.
- It is also necessary to stick masking tape around the cutting area, then the jigsaw cannot damage or stain the upper part.
- When working with an electric tool, you do not need to rush, otherwise the file will deviate to the side. Thus, you get an oblique cut.
- Further, all edges are covered with sanitary silicone so that the side gains sufficient water resistance.
- After the composition has dried, the wash is tried on. If everything is in order, then fastening and sealing is carried out.

Joint sealing is shown in the photo.
Note!
To prevent the waterproofing agent from hardening, you should prepare the sink directly for installation. After installation, the fasteners snap into place.
Additional recommendations
By setting sink in the kitchen, it is imperative to find the best place. This can be done if you take into account the main nuances.
Only then will it be possible to create a comfortable environment for washing food and dishes.
- The distance from the side wall to the edge of the sink should be at least 10-15 mm, otherwise the hostess will have problems keeping it clean.
- It is advisable to decide in advance on the location of the mixer, because some models require a cutout of a special shape.
- If possible, it is recommended to move the installation site away from the cabinet door, then the bowl will not take up much space. There will be room for other accessories.
- When marking, the walls of the cabinet and the traverse should be taken into account, for this reason, careful measurements will have to be made before marking.
- If the siphon is fixed on a long bend, then it is best to tie it to the bottom of the countertop. The structure will avoid sagging under the weight of water.
- After installing the drain fittings, it is possible to check the tightness of the system by turning on hot water.

Non-standard product location.
Addition!
Experts advise removing the drain in certain places, as well as installing filters and valves before placing kitchen furniture, otherwise various difficulties will appear.
Installing an overhead sink
It should be said that it is much easier to mount overhead products with your own hands than mortise counterparts. During the installation process, you do not have to perform intricate processes associated with cutting the surface of the countertop.
The cabinets are used with walls and a front door without a top. For beginners, this option will seem the most interesting.
Preparatory work
Before the sink takes its place, first of all, it is necessary to introduce the outlets of faucets and siphons into it. After fixing the product on a stand, it will not be so easy to carry out such work.
It is also advisable to protect the chipboard boards from moisture by treating the ends with silicone. This will form a waterproof barrier.
Basic fastening methods
When purchasing overhead sinks for kitchens, you need to focus on some things. As a rule, such products are placed on the underframe, which is a regular box without a top.
Their dimensions must match the dimensions of the lower cabinet.
If it is planned to be introduced into a tabletop, then traditional fasteners are unlikely to work.

Layout plan for relative dishwashing facilities.
- Glue fixing involves overlaying the sides on the curbstone ribs. Immediately before this, the ends are coated with any hermetic agent.
Most often, silicone is used as such a composition. The edges of the shell are pressed against the ends until the substance is completely dry. - Mounting with mounting angles is performed using special brackets that are usually included in the package. During installation, the four plates are alternately fixed from the inside with screws. You can determine the location by attaching a corner to the surface. As for the screws, they are tightened by about 5-6 millimeters.
- Fixation using timber blocks is suitable when the kit does not have brackets or if there are defects in the cabinet. For this, wooden elements of the required size are purchased, as well as ordinary furniture corners, the price of which is low.
Next, a special platform is made, which makes up the upper frame of the underframe. The created structure is placed in a box and fastened with corners.
Note!
There is also a simpler option on sale, in which the sink is fixed to the wall. In this case, the large screws are screwed into the special holes located on the back wall.
Completion of installation work
The last stage involves connecting the siphon to the sewer pipe. Flexible wiring from the mixer is connected to the water supply.
Before trial use, you need to unscrew the aerator, after which you can open the water. Then dirt and debris will be removed from the system.

Appearance of the inset sink after installation.
Finally
This guide will show you how to move your sink in the kitchen without assistance. In addition, you can choose a suitable installation method for yourself, giving preference to one or another type of product. As for the external parameters, it all depends on the tastes of the consumer.