Content
-
1 A few words about stretch ceiling
- 1.1 Installation work
- 2 Conclusion
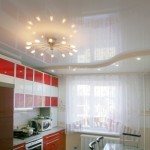
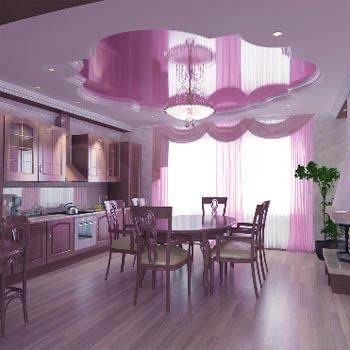
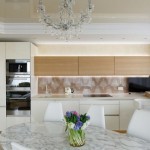
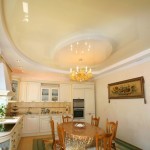
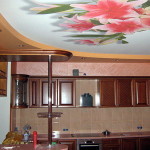
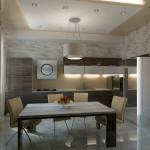
Stretch ceiling in the kitchen these days can be found more and more often, because such surfaces not only have an attractive appearance, but are also extremely practical. Characterized by a long service life, they are easy to clean and require little maintenance.
And if you are also thinking about installing stretch ceilings in the kitchen with your own hands, then you should know all the features of this process.

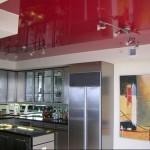
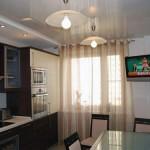
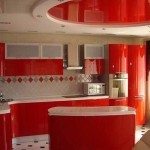
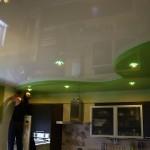
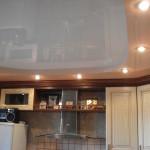
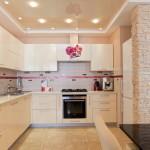
Stretch ceilings in the kitchen have an excellent appearance.
A few words about stretch ceiling
This ceiling structure is a canvas in the form of a special film, which is fixed to the profile.
There are three types of profiles for such structures:
- Ceiling, which is fixed directly to the ceiling.
- Wall, wall-mounted.
- And versatile, which can be attached to both the ceiling and the wall. This type of profile is more focused on the installation of complex ceiling structures, and therefore it is better not to use it for self-assembly.

Photo of the profile used in the construction of stretch ceilings.
To secure the canvas itself, you can use one of three methods:
- Wedge method. It is considered the simplest, since it does not require careful measurements of the fabric or film base. During such work, you should make a strong tension on the ceiling film. After the canvas is fixed, the excess is removed.
- Harpoon method provides for careful measurements of the canvas, after which special hooks are attached to it. This operation is feasible only with a special machine. Subsequently, the fastening of the canvas to the profile is carried out precisely thanks to these hooks.
- Staple method. It is very similar to a wedge, with the difference that in this case the fastening is done using a special tape.

Fastening the stretch ceiling using the harpoon method.
Read also the article "Is it possible to make stretch ceilings in the kitchen - the opinion of professionals."
Installation work
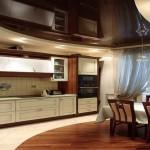
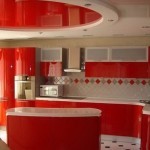
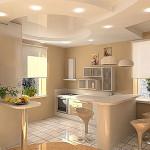
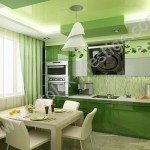
Wanting to install stretch ceilings in the kitchen, you should first decide on their color. On our website you can see various design options, both in the photo and in the video.

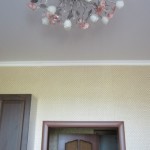
The initial stage of installing a stretch ceiling. We nail the profile to the wall.
There is a simple instruction for installing kitchen stretch ceilings.
Consider the simplest installation using an example:
- Before starting the installation, consider how the lamps will be located in your kitchen. If necessary, change the wiring and prepare the luminaire bases.
Advice! Luminaires of more than 50 watts should not be used with such ceiling structures, since the canvas will lose its elasticity over time due to heating.
- In this case, fixing the stretch ceiling in the kitchen, we will use a baguette profile.

Baguette profile.
- Using the hydro level, we find the lower corner of the room. Next, you need to step back a couple of centimeters for the convenience of attaching the profile and make a mark.
- Apply the zero level in the same way.
- Using a folding protractor, measure the corners of the room. This is necessary in order to ensure an even joint of profiles and stretch ceilings for the kitchen had a smooth surface.
- Prepare the profiled surface. And in this case, there can be two options:
- The rail is longer than the width of the room. In this case, it is necessary to saw down the rail at an angle that is equal to half the angle of the room, which will ensure a strong abutment between the two pieces of the profile. Naturally, ideally all corners in the room should be 90 degrees. But developers do not always comply with this rule, and therefore one should play it safe here.
- If the rail is shorter than the width of the room, then it should be "built up". To do this, saw down the rail at an angle that is 90 degrees. We take it equal to the length of the missing section of the profile and also saw it down 90 degrees, only from the opposite side. We glue these two parts together. Next, we do everything the same as in the first version.
- Attach the profile to the wall using the marked level using self-tapping screws or dowels. Place them 7-8 cm apart. In this case, you need to ensure that the dowels are located at least one centimeter to the edge of the profile.
- Using a heat gun, warm up the room to at least 40 degrees. Only at this temperature can the web be unwound.

Heat gun.
Advice! It is only necessary to heat the room when using film. If you choose a fabric base, then no heating is needed.
- If you use a film, then it should be warmed up to 60 degrees using the same heat gun or a hair dryer. This is a necessary measure so that the material does not suffer during work, becoming more elastic.
- Fix the canvas in any corner of the room. Fix the stretch ceiling for the kitchen diagonally. This way you can achieve better tension and alignment.

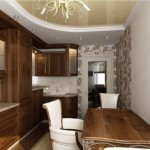
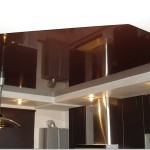
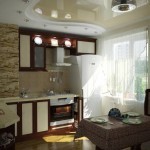
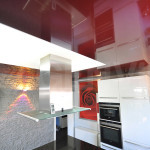
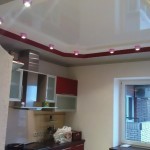
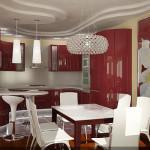
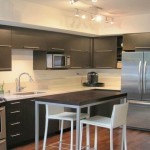
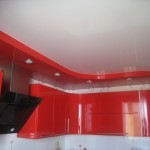
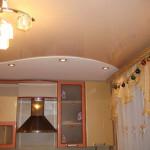
This is how a stretch ceiling is attached in a small kitchen of 9 square meters. The smaller the room, the higher the tension of the material.
- Pulling all corners firmly, secure the canvas in profile in increments of about 8 cm.
- Take a special spatula to secure the canvas around the entire perimeter of the profile, ensuring its uniform tension.
- Carefully cut off the remainder of the film or fabric.
- By heating with a hair dryer, smooth out any wrinkles and streaks formed on the ceiling surface by pulling.
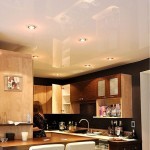
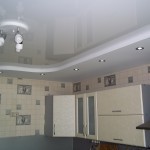
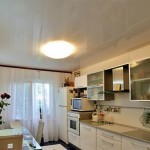
- Stretch ceilings in the kitchen become perfectly flat as soon as the temperature in the room returns to normal.
- The stretch ceiling is ready for the kitchen.
Note! Many will have the question of how to wash the stretch ceiling in the kitchen. The answer is immediate - with a soft sponge and plain water, to which you can add detergent.
Read also the article on the design of the ceiling in the kitchen.
Conclusion
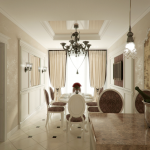
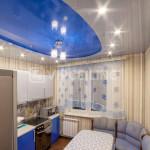
We have considered the simplest method of fastening such structures. At the moment, stretch ceilings in the kitchen are being installed more and more often, there are various options for such designs dictated by modern fashion. And perhaps you will also find something unusual for yourself.

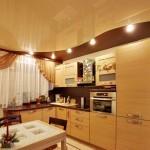
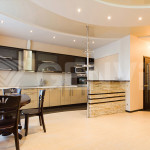
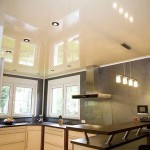
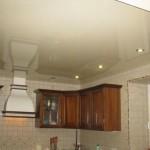
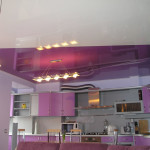
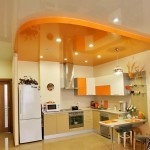
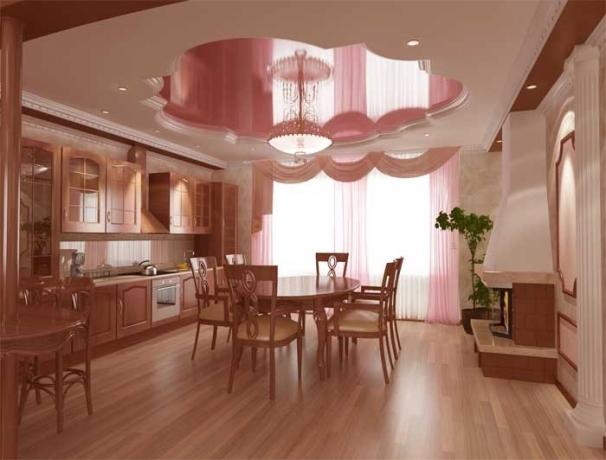
The result is impressive without words - amazing!
But remember that design ceilings of this type are very complex structures, and therefore it is best to entrust such work to professionals. Naturally, the cost of repairs will increase significantly.
If you persistently want to create an unusual ceiling in the kitchen, then perhaps you better give preference to plasterboard structures, which are simpler and more flexible to work with.
Various tips for installing different types of ceilings are contained in the video materials provided on our website. Read our articles, watch videos and forget about expensive specialist services. Easy repair for you!
Read also the article on false ceiling in the kitchen.
Gallery