Content
- 1 Common types of kitchen faucets
-
2 Lever
- 2.1 Ball cartridge
- 2.2 Disk cartridge
- 3 Two-valve taps
- 4 Conclusion
Due to the hardness of the water, wear of the gaskets, constant use - the taps fail. To know how to fix a kitchen faucet and be able to fix it, you need to know its type and device.
We will deal with the question of how to disassemble a faucet in the kitchen and how to replace parts. Let the sounds of dripping water, grunting relatives and your own annoyance be forgotten!

Kitchen faucet leaks
Common types of kitchen faucets
- Lever;
- Two-valve.

Lever crane
Lever
Lever cranes are very common and are renowned for their ease of operation and reliability. Using the lever, it is easy enough to adjust the desired water temperature. But they also break.
When a faucet drips in the kitchen or water leaks from under the lever, then you need to take action. Then to the point!
The main element of the lever valve is the cartridge.
There are two types of cartridges:
- ball;
- disk (ceramic).
Ball cartridge
A mixer with a ball cartridge is arranged as follows. It contains a hollow ball, with two lower inlets and one upper outlet.
The ball is placed on two high-strength rubber saddles and pressed against them tightly due to the water pressure. One saddle passes hot water through its hole, the other cold water. A lever is used to regulate the flow of water into the ball, by aligning the holes thereof during rotation with the holes in the saddles.
The main malfunction in case of violation of the tightness of the connection between the ball and the seat is specks, debris, scale from the water supply system. In this case, you need to disassemble the mixer and remove the blockage. If the cartridge is worn out, and there are no traces of clogging, then it requires replacement.
And here's how to disassemble a kitchen faucet, and in what order:
- shut off the valves supplying hot and cold water to the mixer and drain the remaining water;
- the plug under the tap handle opens and the screw securing the handle - lever with a screwdriver is unscrewed;
- slightly loosening the sides, remove the lever;
- remove the decorative ring, unscrew the clamping nut;
- take out a faulty cartridge;
- inspect all seals (change if necessary);
- collected in the reverse order.
Important! The projections on the cartridge must line up with the holes in the mixer! Otherwise, the cartridge will leak.
Do not skew the cartridge! Carefully set the neutral position of the lever when replacing!

Replacing the cartridge in the lever valve
Disk cartridge
It has two cermet discs inside - these are tightly ground cermet plates. The plates are polished to ensure tightness. The pressure and temperature of the outlet water is regulated by the position of the sintered discs.
Impact on the lever displaces the upper disc, and it occupies a certain position relative to the lower one. The leaving water temperature is determined by the upper cold water cutoff level and the hot water cutoff level.
If a kitchen faucet with a disc cartridge is leaking, then repairing this type of kitchen faucet is no different from repairing a ball type faucet. Photo - video and repair instructions are equally suitable for both systems.
Important! Do not replace disc cartridge with ball cartridge and vice versa! Even if outwardly they may be similar, then inside their structure is fundamentally different.

Two-valve kitchen faucet with rubber seals

Two-valve kitchen faucet with ceramic seals
See also the article “How to install the kitchen combination faucet”.
Two-valve taps
The valve system is cheaper to repair than the lever system. However, it also fails more often.
If a faucet leaks in a kitchen with a valve system, then repairs are not only cheaper, but also easier. You can even make a rubber gasket with your own hands if you don't have a purchased one.
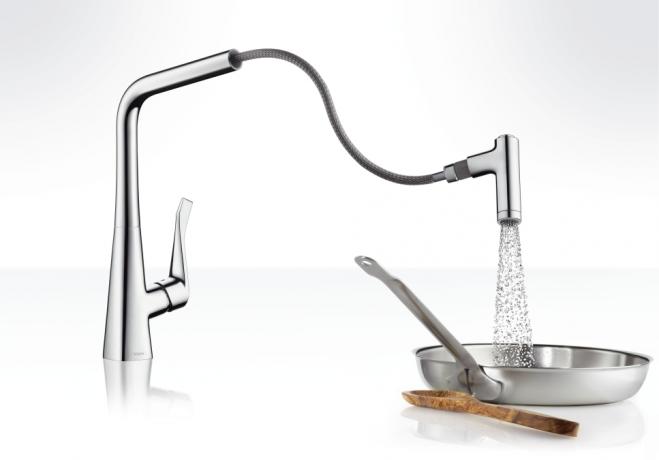
Two-valve mixers often have a swivel spout, which is very convenient.
If water began to flow out from under the swivel spout, then repairing the faucet in the kitchen in this case is absolutely simple.
- It is necessary to unscrew the outer nut, gently rotating and lifting the nose, pull it out of the tap.
- Carefully check the condition of the rubber gasket and expansion ring.
- They must be replaced if necessary.
Note! The price of a repair kit in the store is mere pennies.
In everyday use, valve mixers make it easier to regulate the outlet water temperature.
And how is a two-valve valve arranged?

Two-valve valve device
The very process of repairing a two-valve valve with a rubber gasket can be divided into the following parts:
- turn off the water supply to the mixer and drain the remaining water from it;
- gently pry off the decorative cover with a screwdriver - the insert above the flywheel fastening screw;
- if the screw does not loosen, drip with a WD-40 type agent or brake fluid, solvent;
- unscrew the screw and remove the flywheel from the stem;
- without damaging the surface of the mixer, carefully loosen the nut of the stuffing box packing of the stem, unscrew it;
- unscrew the stem - valve with a rubber gasket;
- inspect the valve seat in the valve body, whether there are sinks, scale, deposits or a defect (if necessary, clean it, grind it in);
- replace the rubber gasket;
- install in reverse order to the tap;
- supply water;
- tighten the gland packing if necessary.
In case of repair of a valve-box with a ceramic seal, the internal ceramic parts and the sealing ring from the repair kit should be replaced. Otherwise, proceed as with the rubber seal.
Know! Crane axle boxes with rubber and ceramic seal are interchangeable! Pay attention to their diameter, it must match!
Important! Do not apply excessive force when screwing in or tightening the crane box, valves, oil seals. You can strip the threads.
But the disassembly of the faucet in the kitchen most often occurs due to the wear of the rubber gasket. This can be signaled by a loud hum or water leak. Therefore, it is better to always have an inexpensive repair kit on hand, which you can even buy immediately when you buy a mixer.

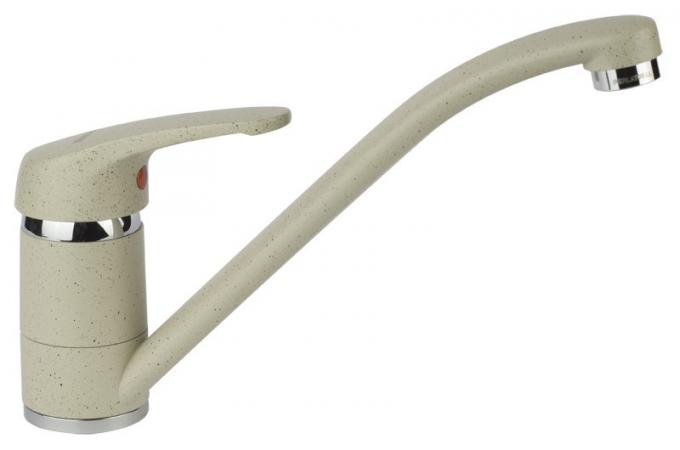
Convenient tap
Read also the article on the kitchen sink.
Conclusion
When the faucet flows in the kitchen - we learned what to do. We also figured out how to repair the faucet in the kitchen. It remains to be clarified what factors can prolong the good health of our kitchen taps.
When choosing a mixer, when buying, you should not lean towards the cheapest option. Instead of non-ferrous stainless metals, parts of it will usually be made of rusting, perishable materials. These mixers are often beyond repair.
It is advisable to install pre-coarse water filters - this will protect it from dirt and debris particles. It happens that it is not the tap itself that clogs up, but even the hoses.
If you install a filter for cleaning hardness salts, it will protect you from lime deposits. After preventive measures, the question of how to fix the faucet in the kitchen may become irrelevant for a long time.
See also the article on porcelain stoneware kitchen sinks.